
Wouldn’t be awesome if we could use Wordpress plugins in Unbounce?
I mean, your landing pages are already optimized for conversions… but by adding custom plugins (such as a social locker) you can now achieve even more robust functionality, leading to some pretty amazing results. 🙂
We build a lot of landing pages using Unbounce at Enrollhand, and luckily for us, Unbounce allows us to add javascript, css and html to our pages which are pretty much all the ingredients we need to clone a wordpress plugin that doesn’t have back-end functionality.

In this example, I will deconstruct the One Press Social Locker plugin. I am offering an infographic to those visitors who like my fan page on Facebook. The action the visitor must take is to “Like” my page, in order to “unlock” the Download link that leads to the infographic.
You can see this in action (built in Unbounce) here:
http://jobs.movinhand.com/using-wordpress-plugins-in-unbounce/
How to Install in Unbounce
Click Here for Instructions
🚨
This is not an official Unbounce feature. This functionality is based entirely on third party code, and has only been tested in limited applications. Since this isn’t a supported Unbounce feature, our support team will be unable to assist if things go awry. So if you are not comfortable with HTML, Javascript and CSS, please consider consulting an experienced developer.
Step 1.
Find a template you like. I was browsing around different marketing blog and then came across this article at Ryan’s Stewart article about Youtube SEO which had a nice built in Social Locker template.
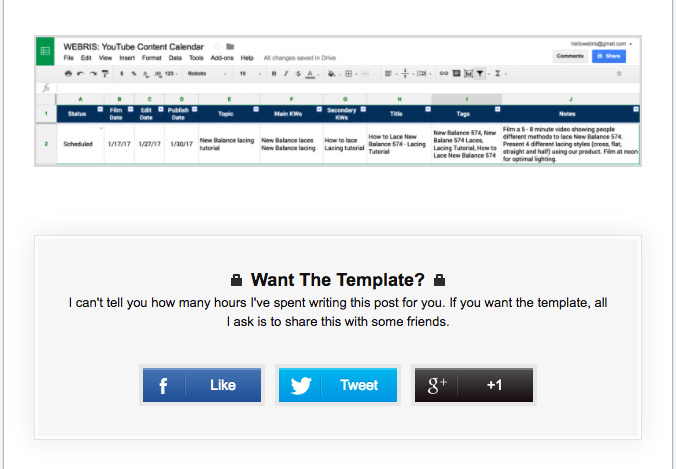
Looks good! Let’s use it.
Step 2.
Let’s say that our objective is to increase your blog’s social Facebook signals , so I am going to keep just the Facebook button.
I am not going into detail on how you can clone a front end element from any website. You can find the exact HTML/CSS/Javascript here.
Unfortunately you can’t see it live because Facebook does not allow this kind of calls from sandbox environments. But feel free to use any of the blocks
Step 3.
Go to your Unbounce Page and create an HTML block.
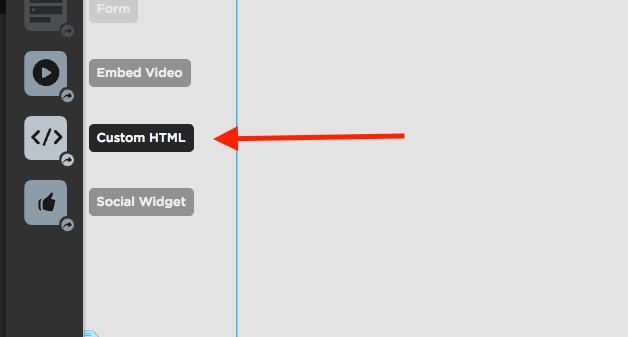
Then Copy and Paste the HTML section of the code there.
Step 4.
Add a new CSS stylesheet to your Unbounce page.
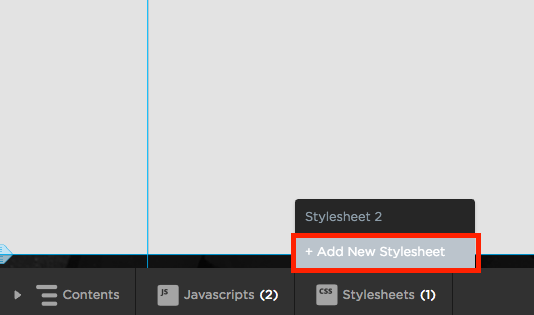
Then copy and paste the section below there. Make sure to open it with <style> at the beginning and </style> at the end.
Step 5.
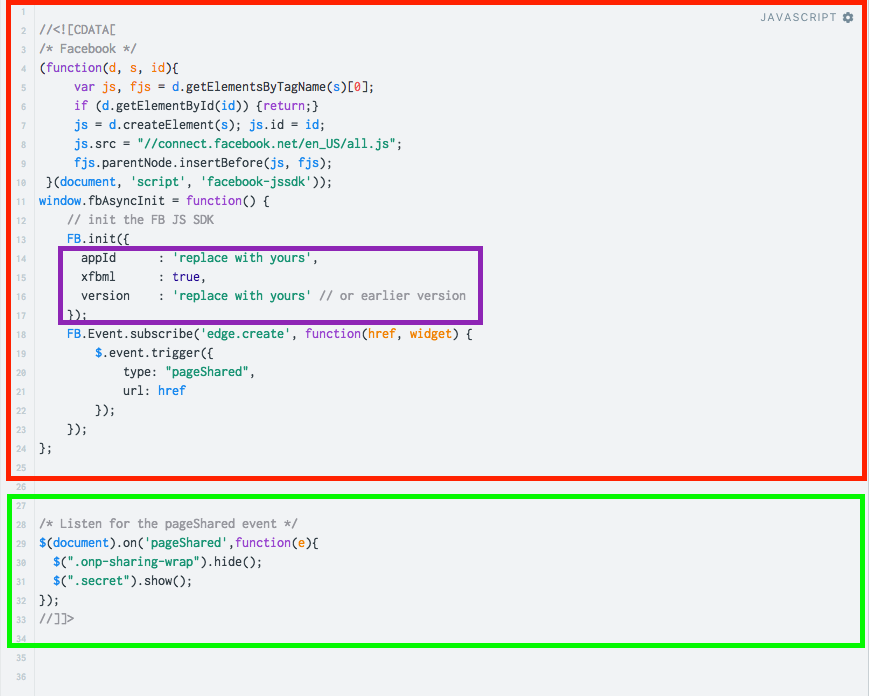
Ok, let’s add some Javascript. The first part is the Facebook SDK which will connect Facebook with your widget. The second part is just a jquery that tracks when the blog post like is completed and then reveals the button with the infographic link.
You need to replace appid and version with your own data.
Step 6.
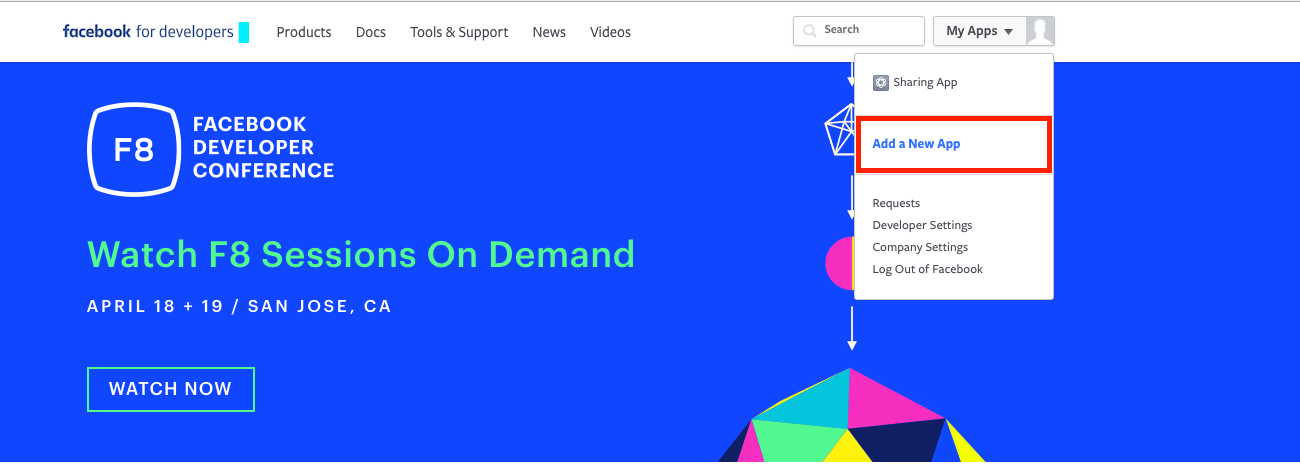
Get your own appId and api version. Go to https://developers.facebook.com and create an account if you don’t have already. Then click Add a New App.
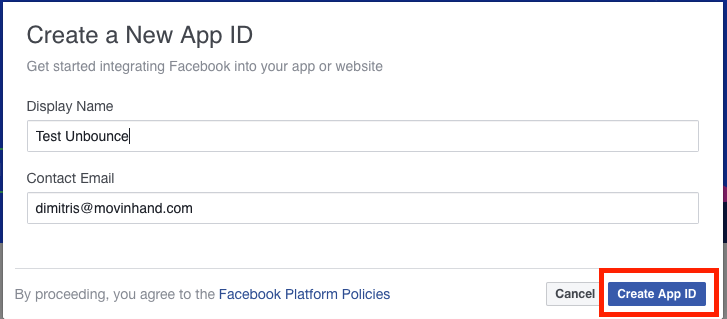
Give it a name and then click Create App ID.
Then click on App you just created.
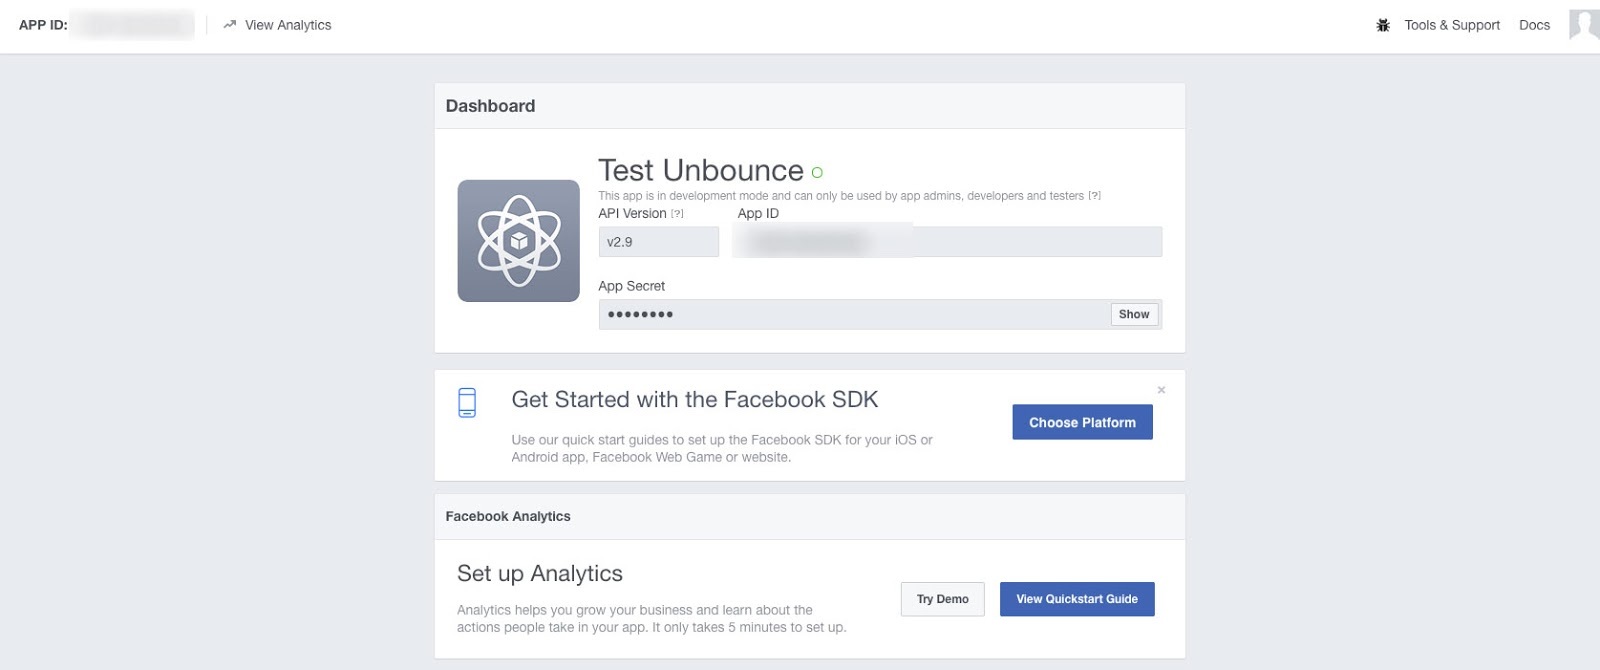
Finally, you can find in the Dashboard both the AppID and the Version.
📝 Note: The functionality might work without AppId and API version but because of the asynchronous execution of the script, I noticed that is a bit faster when I use them. Feel free to test it as you want and let me know if you experience something similar. If you decide not to use them, just delete them from the script.
Step 7.
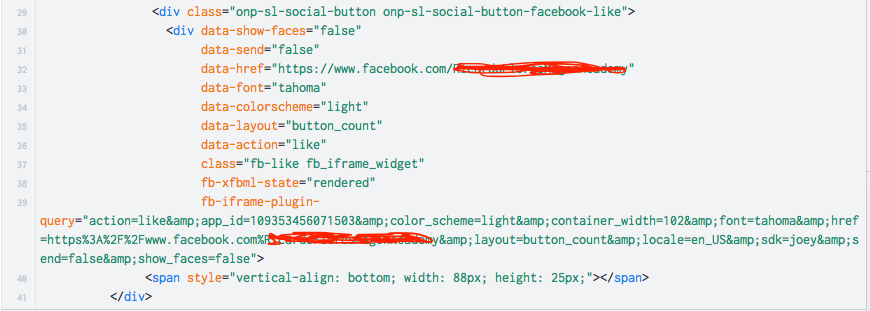
Now just replace your own Fan Page URL in the HTML code below:
That’s it!
Mind you, this solution is far from perfect. Someone with basic knowledge can inspect your page and find the link himself. But it’s an example of some the capabilities a tool like Unbounce gives you when it allows you to execute javascript on the page and manipulate DOM.
If you have any questions, comments or problems - just post it in the comments below and I’ll do my best to answer. 🙂
Want to take your Unbounce landing pages + Convertables™ to the next level?
 Check out the Ultimate List of Unbounce Tips, Scripts & Hacks

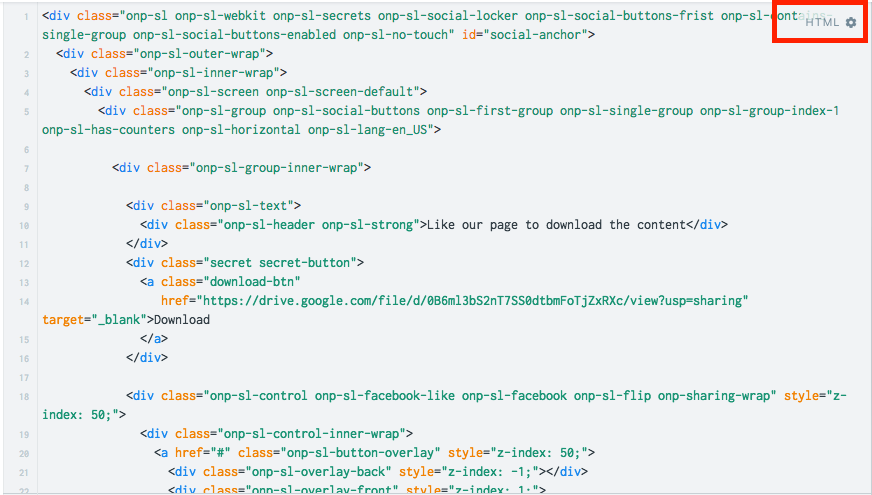




 Nicely done!