The team at Webistry put together a step-by-step tutorial on how to quickly send traffic from your Unbounce landing page to your Woocommerce checkout. Webistry has a ton of experience with ecomm landing pages, with samples of their work featured in the Unbounce Ecommerce Lookbook.
Here’s a link to the lookbook for some more ecomm inspiration. 🖥️
Without further ado, scroll on for a quick guide to connect your Unbounce landing page to your Woocommerce site.
🚨
This is not an official Unbounce feature. This functionality is based entirely on third party code, and has only been tested in limited applications. Since this isn’t a supported Unbounce feature, our support team will be unable to assist if things go awry. So if you are not comfortable with HTML, Javascript and CSS, please consider consulting an experienced developer.
Step 1.
Locate your product ID in Woocommerce, (here’s an article that explains how to find it)
Step 2.
Create a permalink using the following template:
- Template: www.enter-your-domain-here.com/checkout/?add-to-cart=product-ID
- It will look like this:
Step 3.
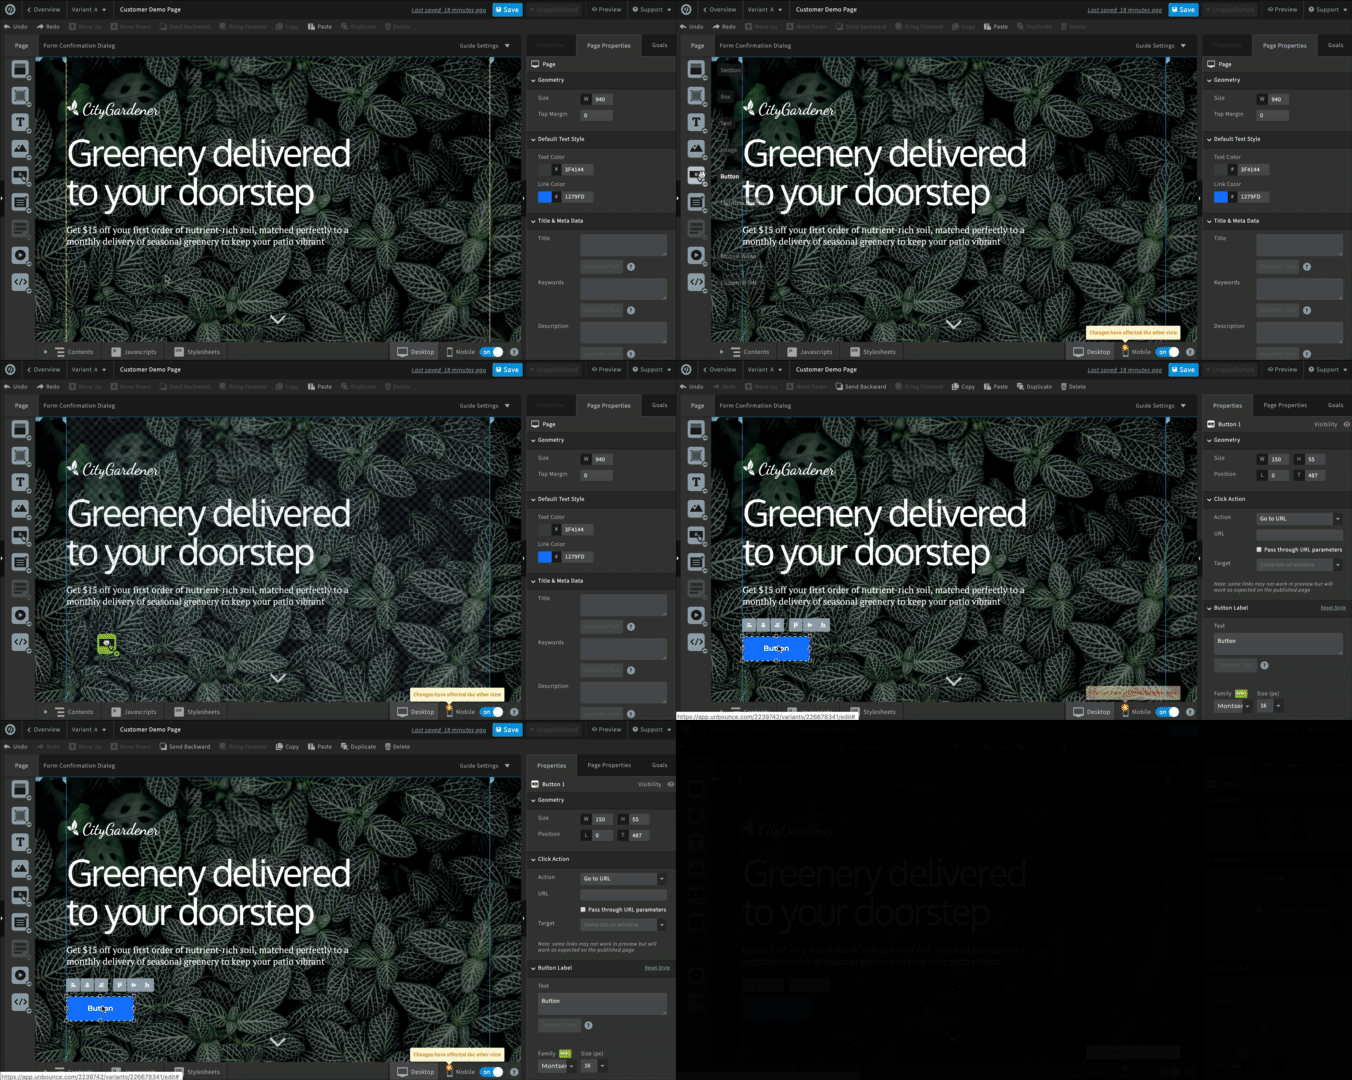
Drag and drop the Button widget onto your Unbounce landing page

Step 4.
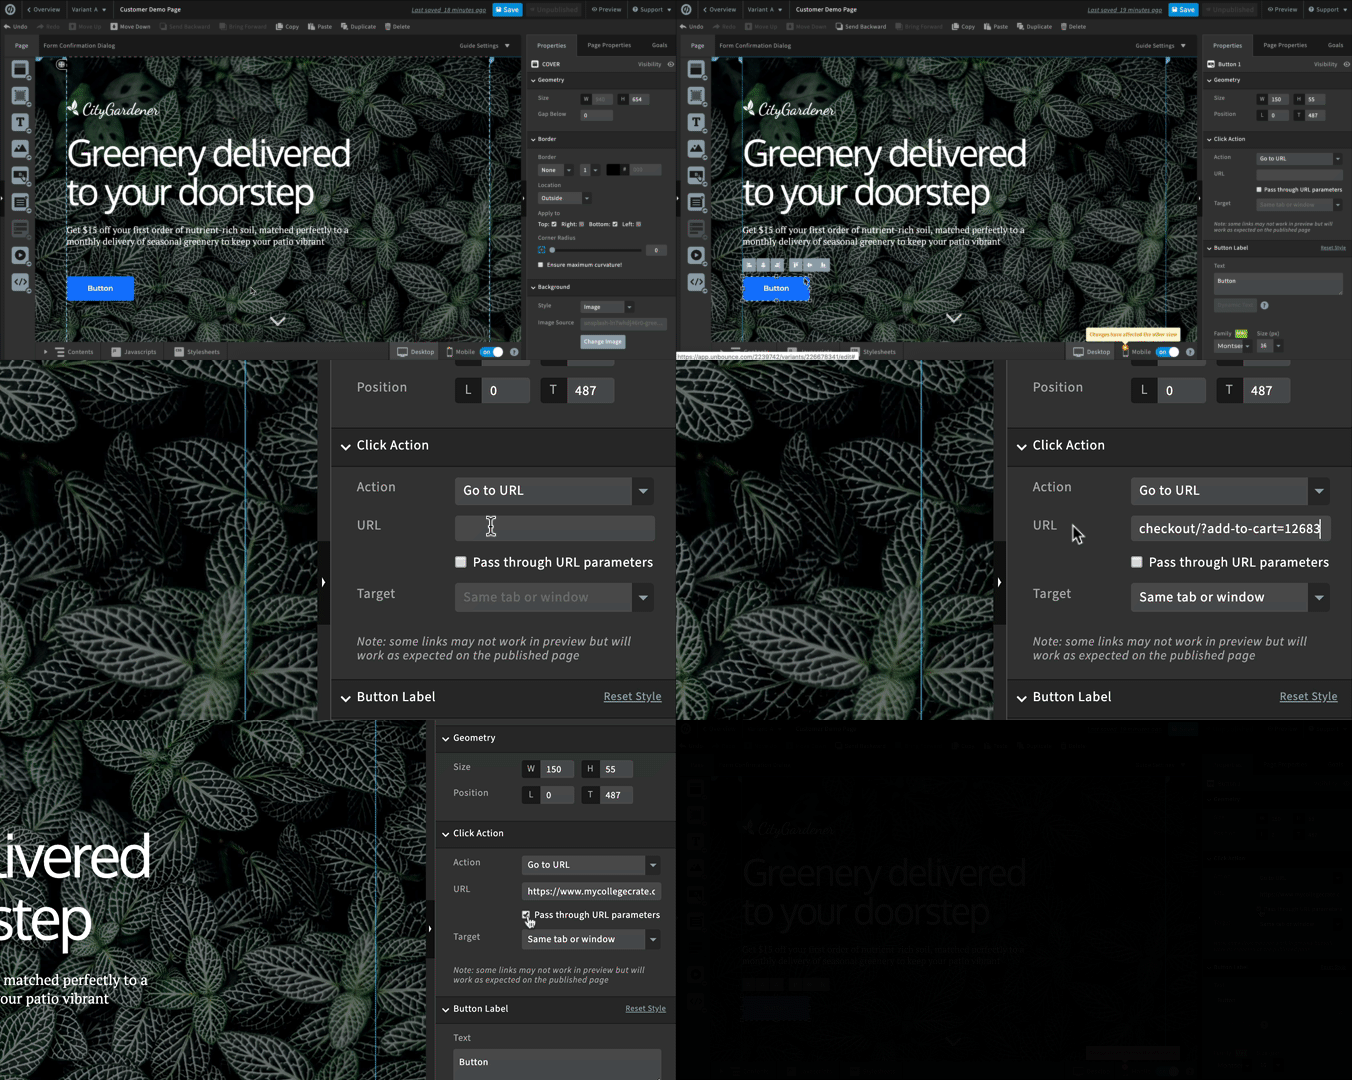
Select “Go to URL” as your action, paste your permalink in the URL field, tick the box “Pass through URL parameters”, under “Target” select “Same tab or window”

Step 5.
Style your CTA button
Step 6.
Copy paste your button in other sections where needed
Boom, you’re done 💥
Want to take your Unbounce landing pages + Convertables to the next level?
 Check out the Ultimate List of Unbounce Tips, Scripts & Hacks


