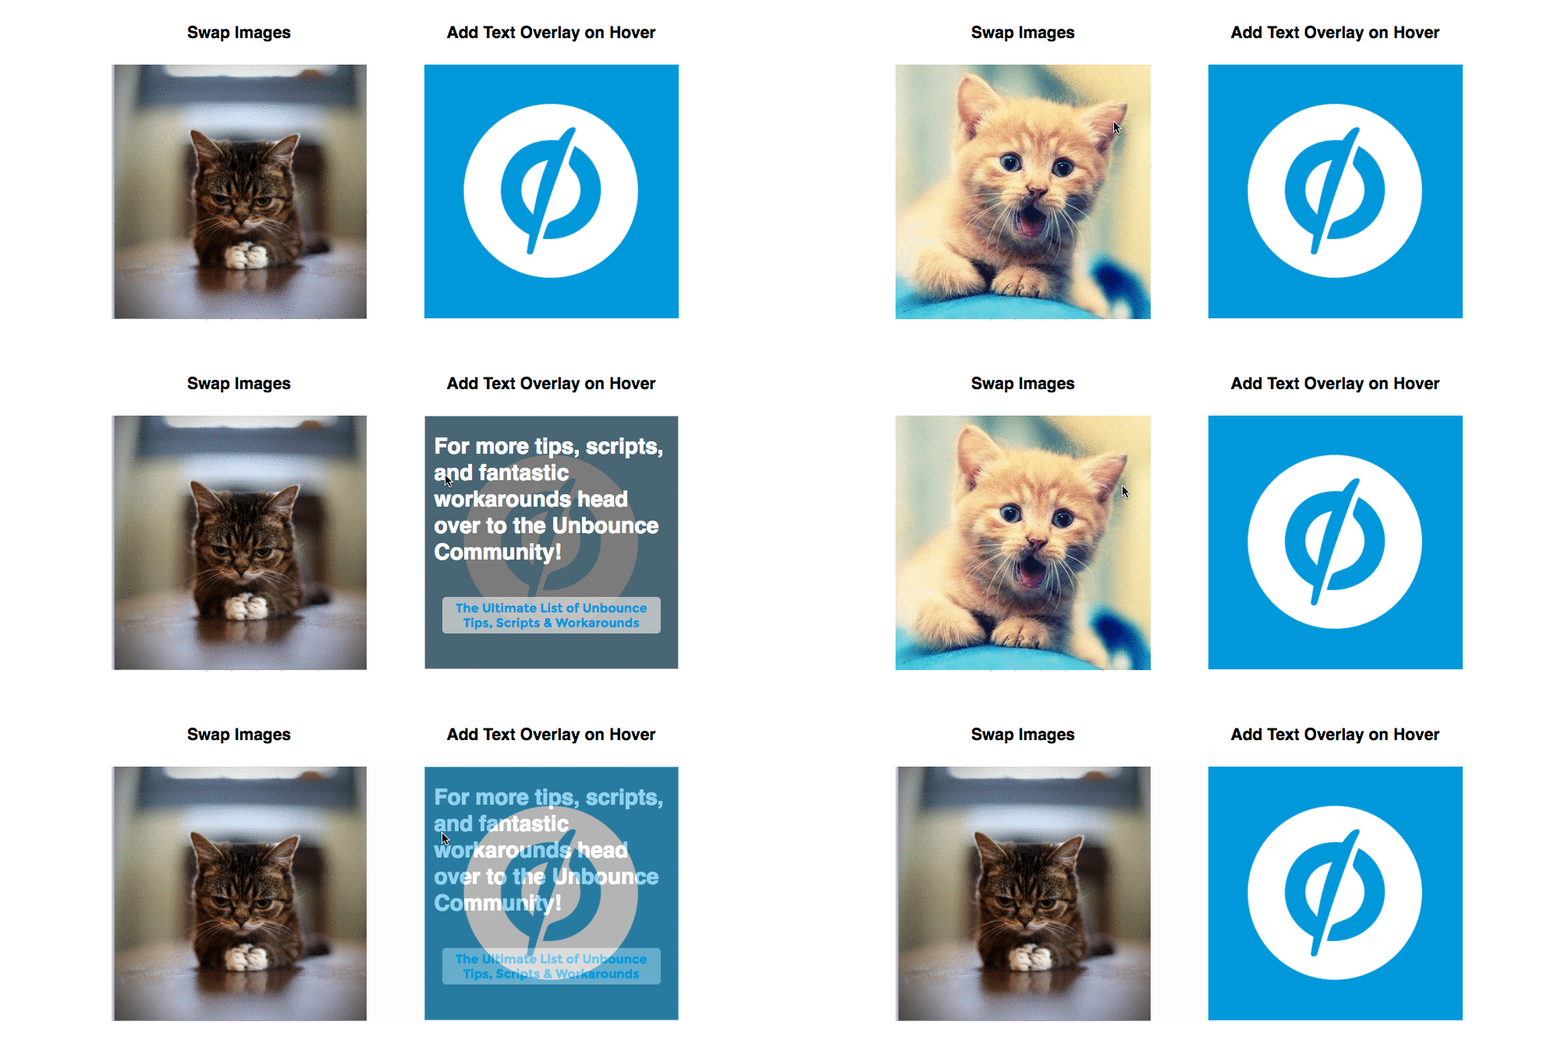
Show twice the amount of content in the same amount of space or give your page visitors a little hint and some extra incentive. This simple workaround involves a little bit of Javascript and CSS to achieve some potentially powerful results.


Rollover images offer a way to improve the user experience on your page and make certain elements interactive. Want to have an image change when someone hovers over it? Or maybe you’d rather have some text appear instead? Now you can!


With a few minor adjustments to this script you’ll also be able to create your own custom tooltips and hints on the page.


See this effect in action on a live Unbounce page here:

http://unbouncepages.com/rollover-image/


Instructions


Click Here to Load the Instructions


⚠️


Please note: This is not an official Unbounce feature. This functionality is based entirely on third party code, and has only been tested in limited applications. Since this isn’t a supported Unbounce feature, our support team will be unable to assist if things go awry. So if you are not comfortable with HTML, Javascript and CSS, please consider consulting an experienced developer.


How It Works


Whether you are using this for rollover images or for tooltips/hints, the concept is the same. You are going to create all the elements you wish to show on the page as rollover images or tooltips and then hide them with some simple CSS. Adding the Javascript and customizing it with your own element ID’s will allow you to control what is shown when certain page elements are hovered over.


Resources


Download the .unbounce File

https://drive.google.com/uc?export=download&id=0B26DYgxXQSvWak9CdnR0QzI1NjA


Tooltips


  1. Tooltip Tutorial

  2. Tooltip Scripts


Rollover Images


  1. Rollover Image Tutorial

  2. Rollover Image Scripts


Pulling it All Together


Step #1: Place the Page Elements on the Page


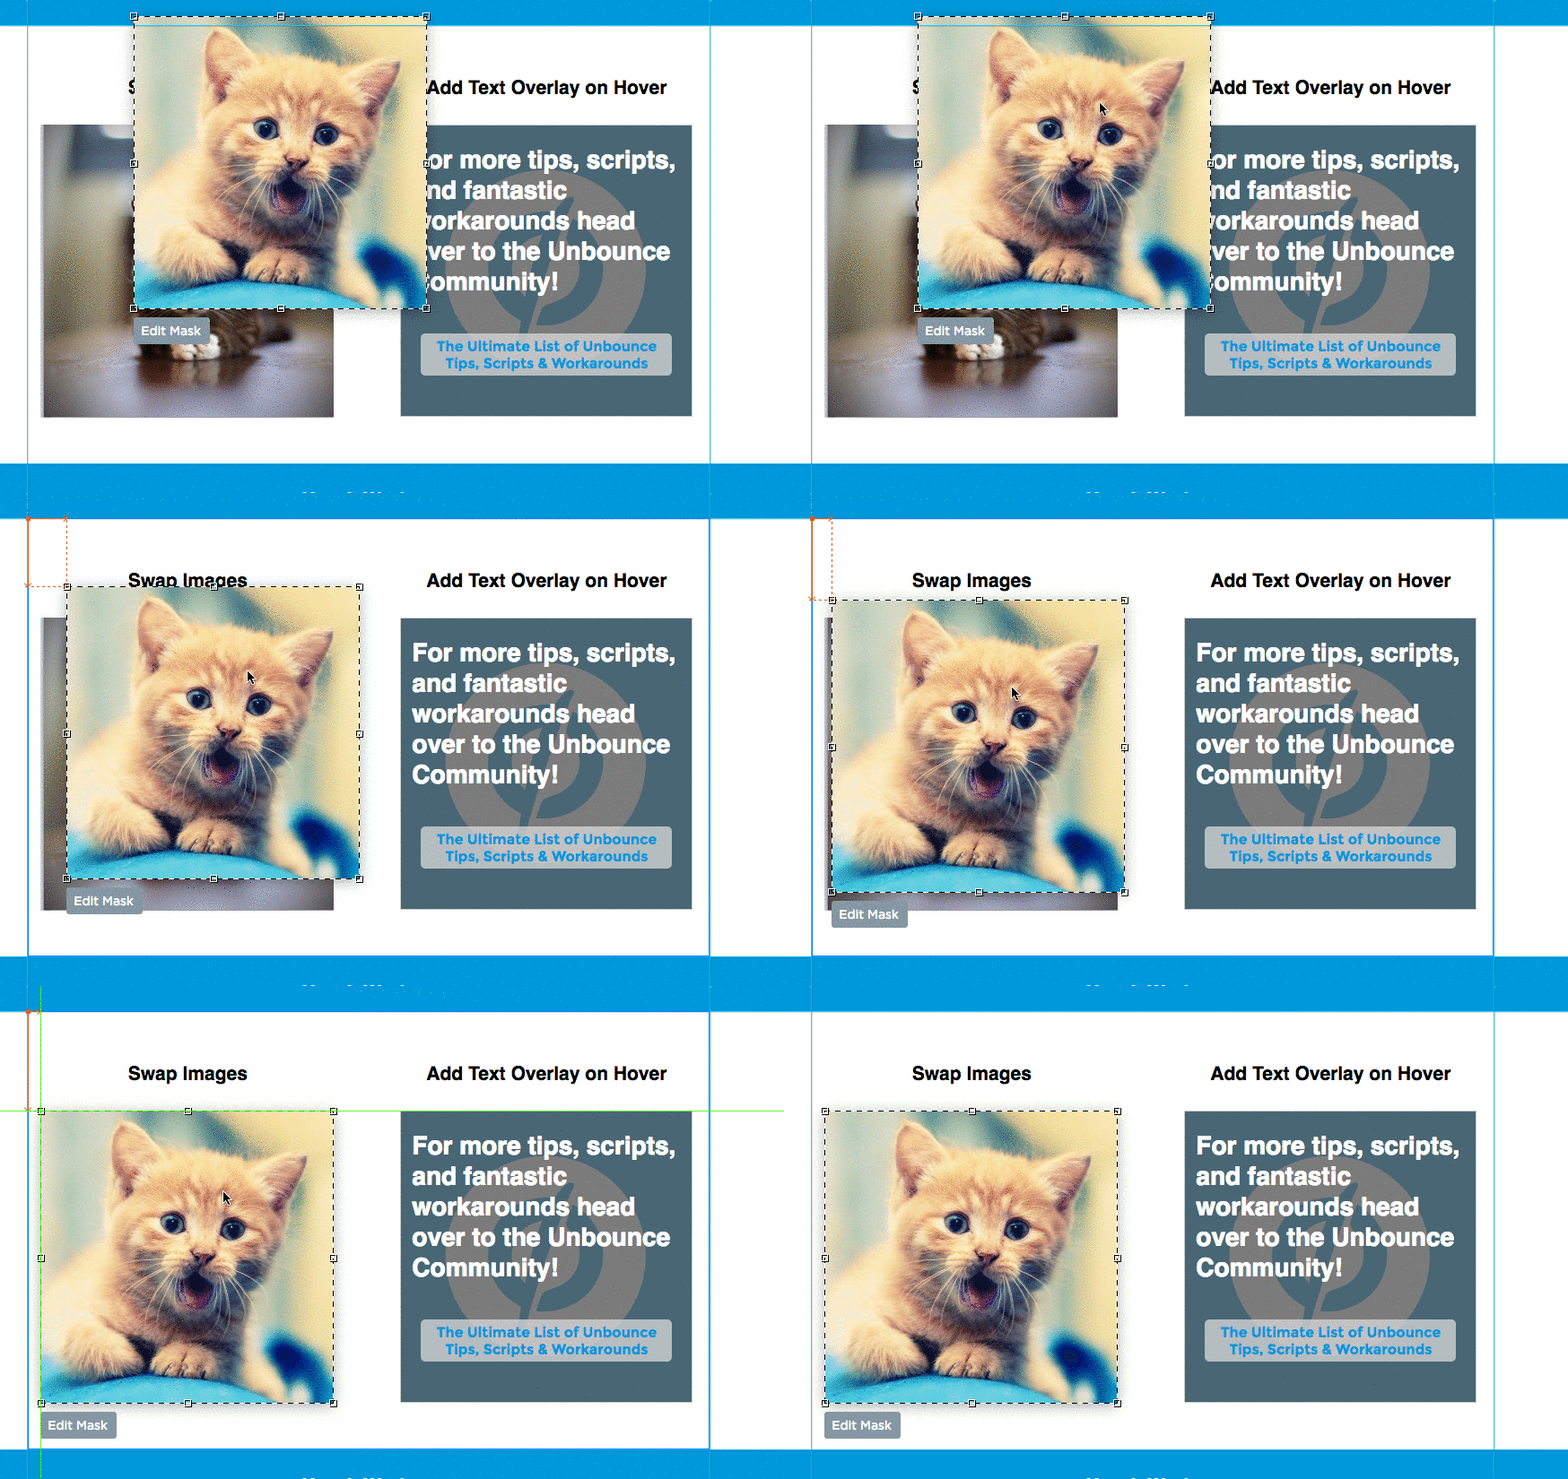
Let’s get started! Getting the on hover image swap working on your page won’t be too difficult. It works by stacking two Unbounce page elements (images, boxes, pretty much anything) on top of each other and then hiding the top element with some CSS. This top element will be what appears when the mouse moves over the bottom element, which will be visible when the page loads.


NOTE - Depending on the images, you can usually make two images exactly the same size despite aspect ratio by applying a mask.


If you’re creating tooltips/hints, you won’t want to stack the images on top of each other, but rather place the element you’d like to appear elsewhere on the page. For example, if you’re adding a tooltip for a button, place the text next to or below the button itself.


PRO-TIP : If you’d like to include images and text as a tooltip you can simply put anything you want to appear on hover in a box element and hide/ show that instead.


Step #2


Add jQuery to your page by adding a Javascript with the following contents:


<script src="//ajax.googleapis.com/ajax/libs/jquery/1.4.2/jquery.min.js" type="text/javascript"></script>

Step #3


For an image/ text swap on mouse hover, paste the first Javascript snippet (on-hover-image-swap) onto your page and set the placement to before body end tag.


For tooltips and hints, use the second script (on-hover-show-hide).


Step #4


Change the IDs in the variables at the top of the script to match the ID’s on your page.


Step #5


Add the following CSS snippet to your page in the stylesheets tab in order to hide the tooltip/rollover image:


    <style>
#lp-pom-image-9 {
display: none;
}
</style>

Make sure to swap #lp-pom-image-9 with the ID of your own element. You can chain multiple elements to hide by separating the IDs with a comma.


Step #6


You’re done! Save and publish the page, then kick back and relax. You’ve earned it!


Testing


Like anything else you implement on your page, you’re going to want to test this out thoroughly to see what effect (if any) it has on your conversion rates. We recommend running an A/B test and segmenting a small portion of traffic towards the page - just to be safe.


Conclusion


We’ve given you the ground work, but we would love to see how you implement this on your own pages.


Want to take your Unbounce landing pages + Convertables™️ to the next level?

:spinbounce: Check out the Ultimate List of Unbounce Tips, Scripts & Hacks

Thank you, thank you, thank you!


This hover tool looks awesome!

But for some reason, on my page the hover image pulses/flashes. Basically it appears for one sec, then disappears for a sec, then reappears etc.

Anyone know how to fix that?


Thank you,

Chloé


Actually the answer was in the thread. I used the tooltips code instead of the rollover one.

It is now FIXED and it looks awesome! 😃


Great to hear @ChloeCurve 🙂 Nice catch!


Hi @Rob, thanks so much for this script! I’ve followed your instructions and it works almost perfectly aside from one thing – after the initial hover, the hover text stays put. If I go back and hover over the boxes again, the text appears and disappears as it should. Do you have any thoughts on why this is happening the first time I mouse over the boxes or how to fix it so that it disappears after every hover? My landing page URL is https://info.distillery.com/201806-draftlp/


Thanks in advance!


Hi @Riley_Lico1 So sorry for the late reply on this! I haven’t had as much time as I like to be active in the community lately. I tried the link but it looks like the page is unpublished now. Let me know if you’re still having any issues though with this or any other page and I’d be happy to have a look for you.


All the best


I’m having a heck of a time trying to get this to work.

http://page.vermeer.com/roadshow_attend/

The intent is to rollover the different locations and a box with more information will pop up but it’s not working at all. the top image is being hidden, but the hover doesn’t work.

Any help would be great!


Hi HopeWadle,


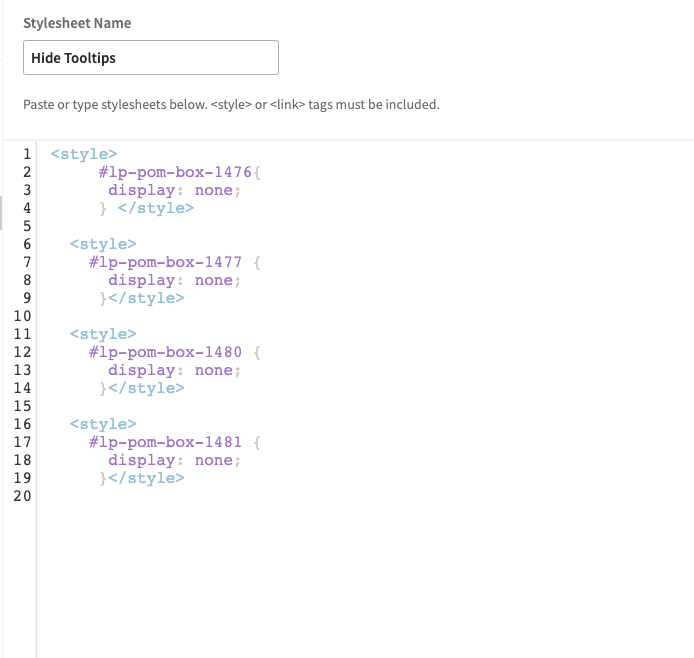
Did you add a box first on top of the image you want to display, and then inserted the top image (the one you want hidden) in the box? Make the box transparent (opacity 100%) so that it doesn’t show up on you page. Then add the ID of the box in your hover stylesheet. Example:


#lp-pom-box-302 {
display: none;
}

You need as many stylesheets with that code as you have boxes you want to hover, with their corresponding IDs.


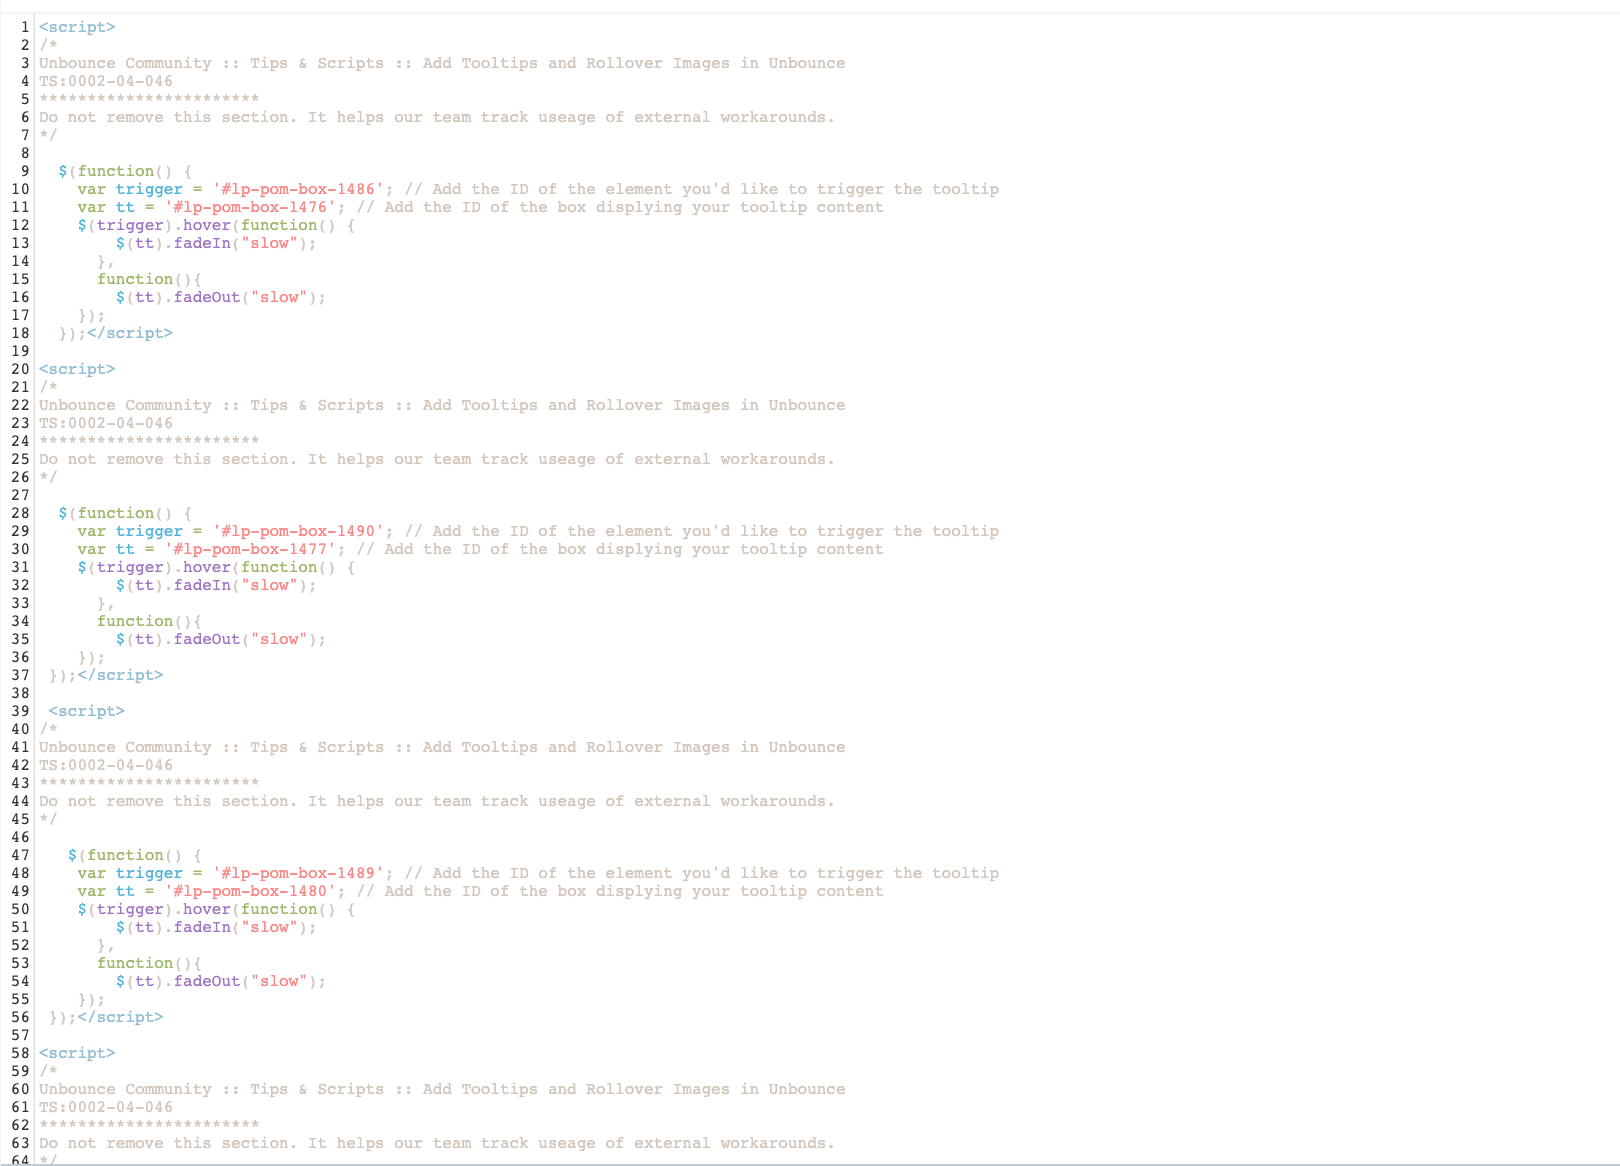
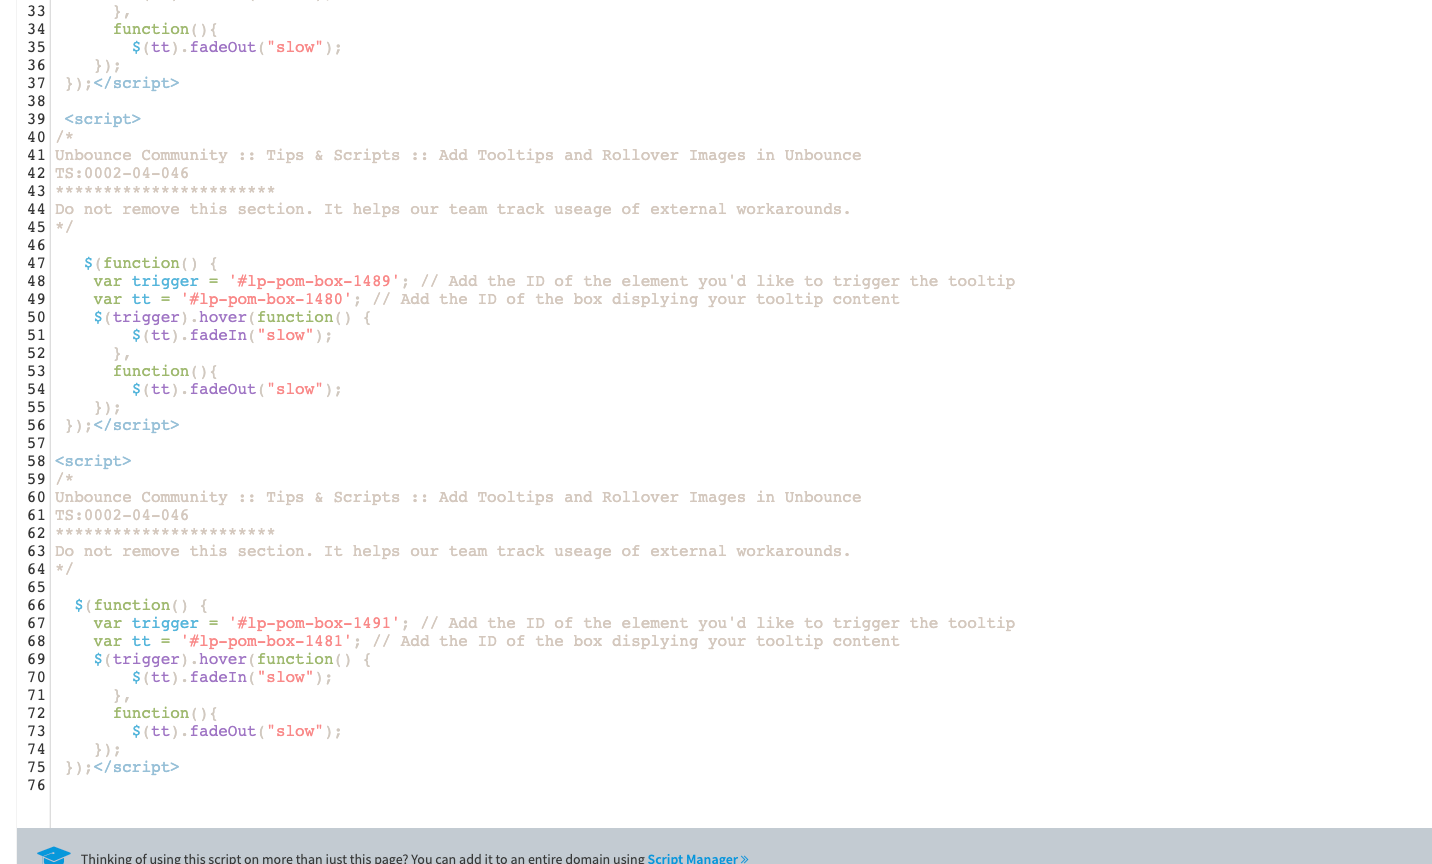
And make sure that your javascript contains the right IDs as well.

Example:


I hope that helps 🙂


Hi,

For some reason I don’t have permission to access the google drive like at the beginning of this tread.


Thank you for all the great resources.


Same here, not able to open the link…


Hi @nuange I just tried the link and the page downloaded ok for me. It should just automatically download the page in your browser as an .unbounce file (it won’t navigate away from this page). It could be something related to the browser or a browser extension. Could you try downloading the page in a different browser?


Hi Rob!


I’ve tried with Chrome and safari and always have this error:


403. That’s an error.


We’re sorry, but you do not have access to this page. That’s all we know.


Looks like there was a permissions issue on the folder in my Google drive. I’ve just fixed that so it should work for you now. If it doesn’t let me know and I’ll DM you a copy of the page.


Thanks! it work well now !


I have used the tooltip script to create a hover drop down menu, but if I mouse over the tooltip itself, the tooltip disappears. Is there a way to make the tooltip stay when you mouse over it?


Hi Rob, can you pelase take a look at this page https://investice.buresapartneri.cz i spent a lot of time and cant make the rollover for testing box. Hope you can help !


Cheers

Igor


Hi @John_Steele, this is a great question and something that would be a great addition to this script. Unfortunately when I originally created it way back when the intention was to be able to show some useful tips to visitors, not to necessarily to interact with actual tooltip, so I didn’t include what you’re asking for. You could try the “rollover” version of the script though and try just not layering the two elements directly on top of each other. This should give you what you’re after as the tooltip wouldn’t disappear until someone had hovered on it and then moved the cursor away.


Hope this helps!


Hi @iGORBICEPS, apologies for the late reply here. I had a look at your page and noticed two things that are most likely preventing it from working.


  1. The placement of the jQuery code needs to be set to the “head” - https://www.screencast.com/t/hM0iFLwLEbu


  2. You’ll need to add in a “#” symbol before the first id in the script - https://www.screencast.com/t/pY2beZxr6uc


Give those thinbgs a try and it should start working for you 🙂


Hi, I tried the script and it works perfectly on boxes and with a minor adjustment, it works on click instead of hover as well. Can it be customized though to hide / reveal an entire section, instead of just a box? I tried to swap the IDs for the section IDs, however, not even the CSS code will hide a section.


Hi Jack, I just can’t get this to work on my page - https://web.ghotw.com/the-wyred-world/


I’d really appreciate some help 🙂 thank you!


@Rob I have these tooltips set up on my page but on hover, instead of simply revealing the hidden object, the trigger object and the hidden object appear alternating like they are flashing-switching. You can see this on http://unbouncepages.com/lch-audio/ and I have embedded a screen recording of the issue. Also screenshots of my code. Can you please help with that? Thanks. 


Reply