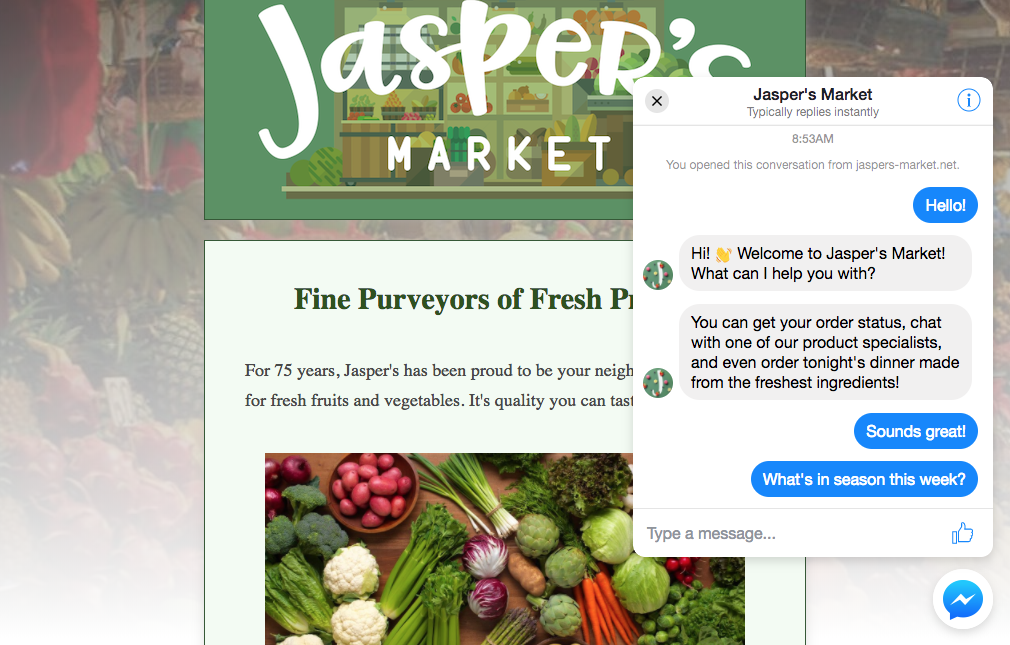
Hey all, lately we’ve been testing the official Facebook Messenger live chat plugin, and got it working on an Unbounce page.
Although it’s technically still in beta, I figured some of you may want to test it out as well, since it’s a fast, easy-to-use, and FREE live chat solution, directly from Facebook. So, here’s how to add Facebook Messenger to an Unbounce page. Enjoy!
Here are the exact steps for getting Facebook Messenger set up on your Unbounce page:
1. Whitelist your domains
First, you’ll need to whitelist your unbounce domain(s) with Facebook. Simply go to your Facebook business page, click on “settings,” then click on “Messenger Platform” from the sidebar on the left, and then scroll all the way down to the “Whitelisted Domains” section. Here you’ll put in the domain(s) you’re using with Unbounce that you want to install Facebook Messenger on. Make sure to include both “http” and “https” versions!

2. Grab your Facebook page ID
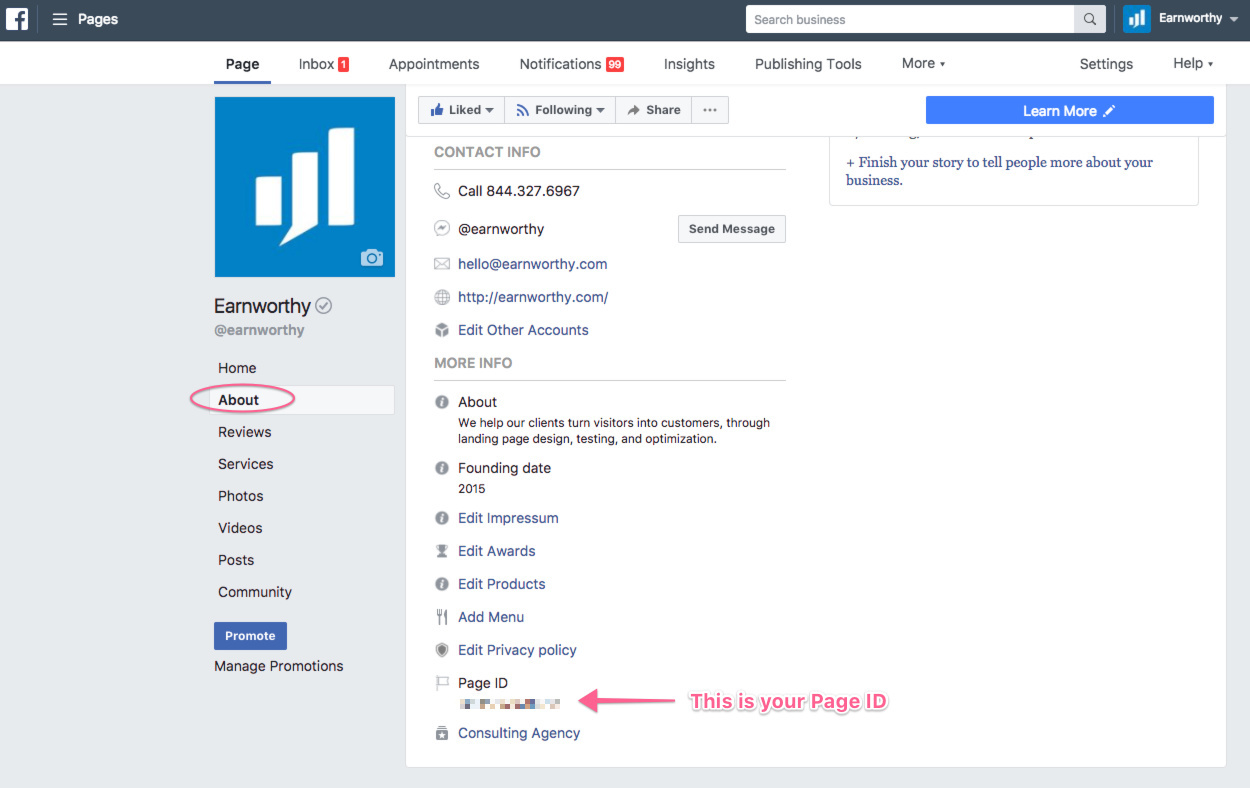
While your on your Facebook page, copy down your page ID, because you’ll need it in a later step. You can find it by clicking on the “About” section, and scrolling down to the bottom. Save that number for later. We’ll come back to it.
3. Set up a new Facebook Developer App ID
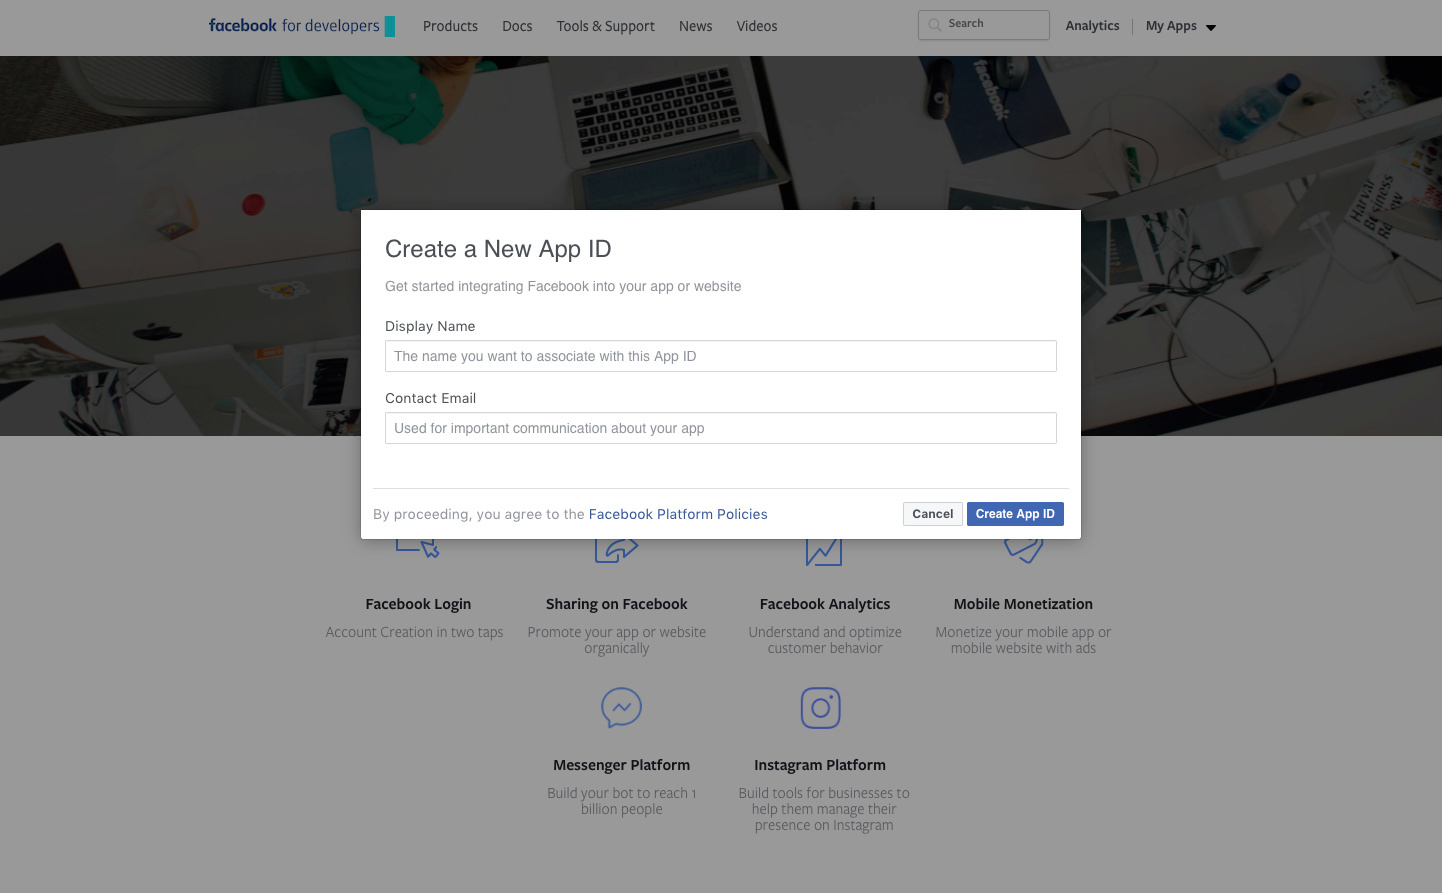
If you haven’t worked within the Facebook developer portal before, you may have to sign up. But it’s quick and easy to do so. Once you’re signed into the developer portal, you’ll want to create a new app ID. I called mine “Messenger for Earnworthy.” It doesn’t have to be anything fancy. All you really need is the app ID number. Once you have it, copy it down, because we’ll need it later.
4. Install the Messenger scripts on Unbounce
If you’re adding the Messenger plugin to just one single Unbounce page (or just a few here and there), you’ll want to add the scripts at the page level. However, if you want it to install on all of your Unbounce pages on a particular domain, you may want to use the Unbounce Script Manager. For our testing purposes, I installed it on just a single page to start with, so I’m working directly within the Unbounce page builder interface.
Click on the “Javascripts” section at the bottom of the builder, and add a new script called “Facebook Messenger” with the placement of “Before Body End Tag.”
You’ll need to install both the Facebook SDK script, and the Facebook Messenger script. Here’s the exact code I used, which simply combines the two. Of course, you’ll need to replace “ENTER YOUR FACEBOOK PAGE ID HERE” with your Facebook page ID, and “ENTER YOUR FACEBOOK APP ID HERE” with your Facebook app ID.
<div class="fb-customerchat"

 page_id="ENTER YOUR FACEBOOK PAGE ID HERE"

 minimized="true">

</div>

<script>

  window.fbAsyncInit = function() {

    FB.init({

      appId            : 'ENTER YOUR FACEBOOK APP ID HERE',

      autoLogAppEvents : true,

      xfbml            : true,

      version          : 'v2.11'

    });

  };


(function(d, s, id){

 var js, fjs = d.getElementsByTagName(s)r0];

 if (d.getElementById(id)) {return;}

 js = d.createElement(s); js.id = id;

 js.src = "https://connect.facebook.net/en_US/sdk.js";

 fjs.parentNode.insertBefore(js, fjs);

 }(document, 'script', 'facebook-jssdk'));

</script>
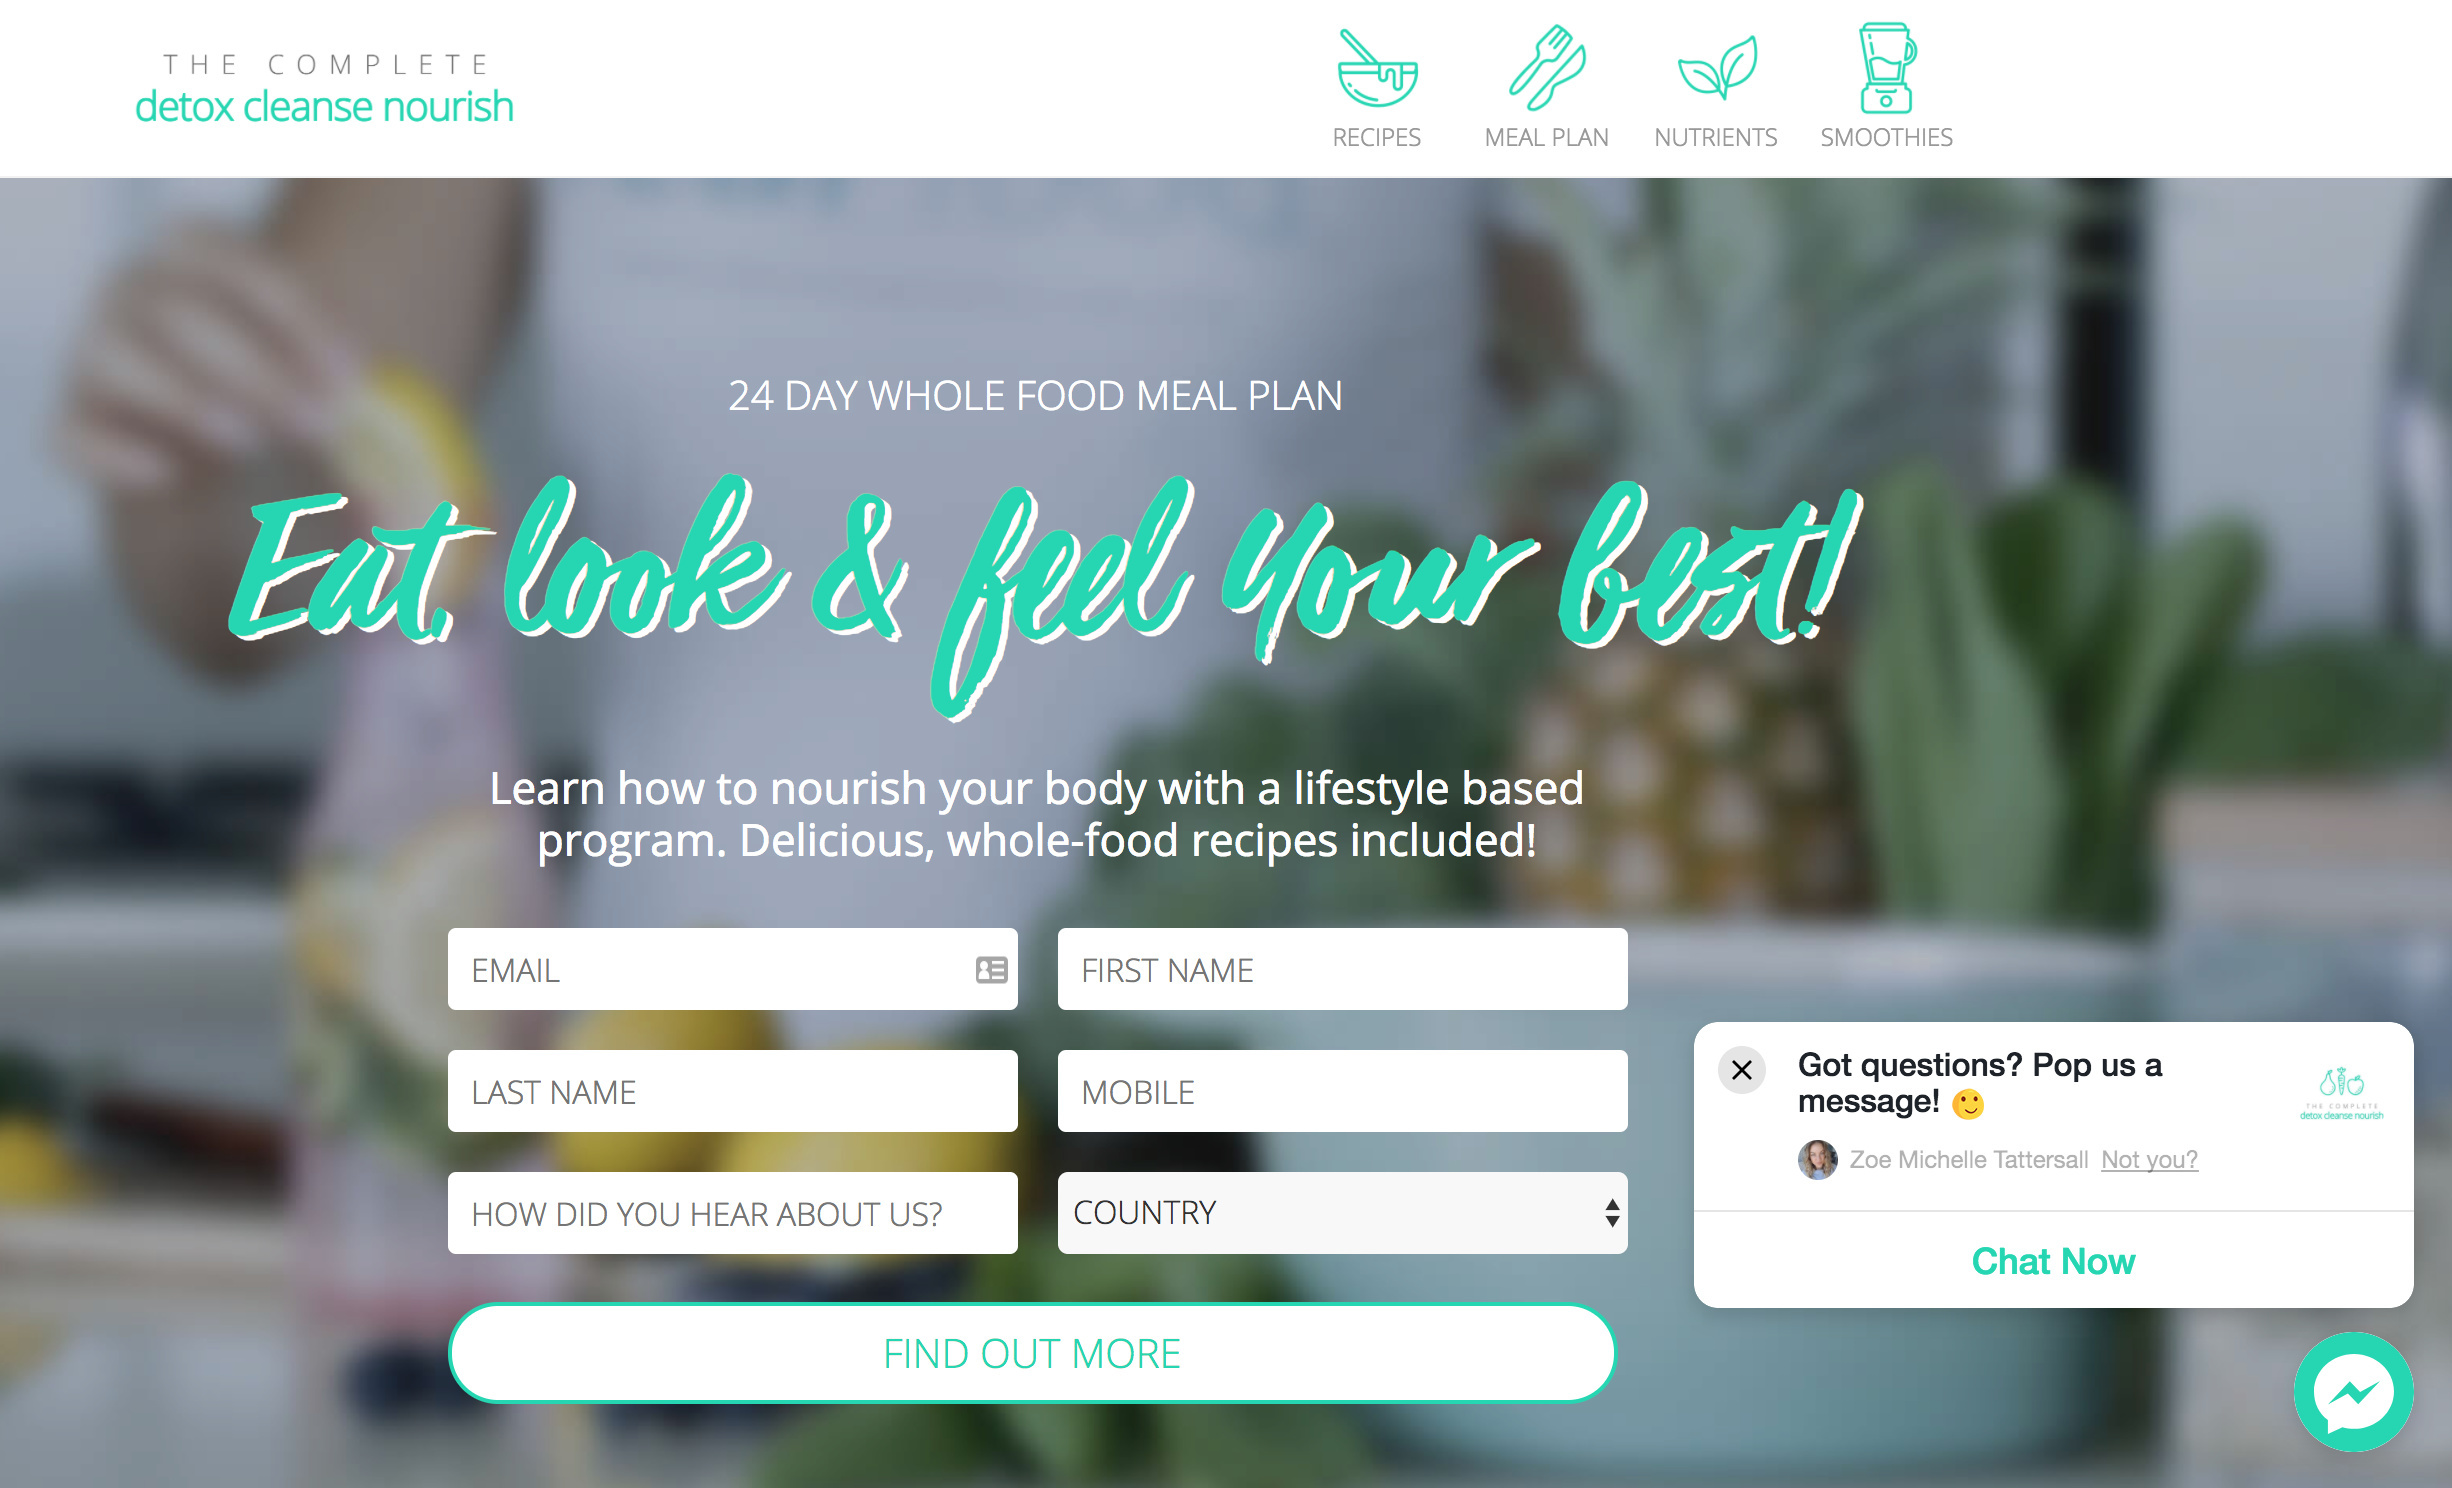
After you’ve saved the script, go ahead and save and publish your Unbounce page. When you visit the page, you should now see the Facebook Messenger icon in the lower right corner of the screen.
If you want your Facebook Messenger welcome message to pop up automatically, simply change “true” to “false” in the minimized="true" line in the code above.
Other than that, you should now be able to receive messages directly from your Unbounce page.
5. Test everything
Of course, make sure you’re able to get notifications from Messenger. There’s nothing worse than losing leads or sales because you didn’t get a live chat message from a visitor. Test everything fully before you launch it as part of a live campaign!
And if you want to get even deeper with Facebook Messenger’s chat plugin, check out the official documentation from Facebook.


