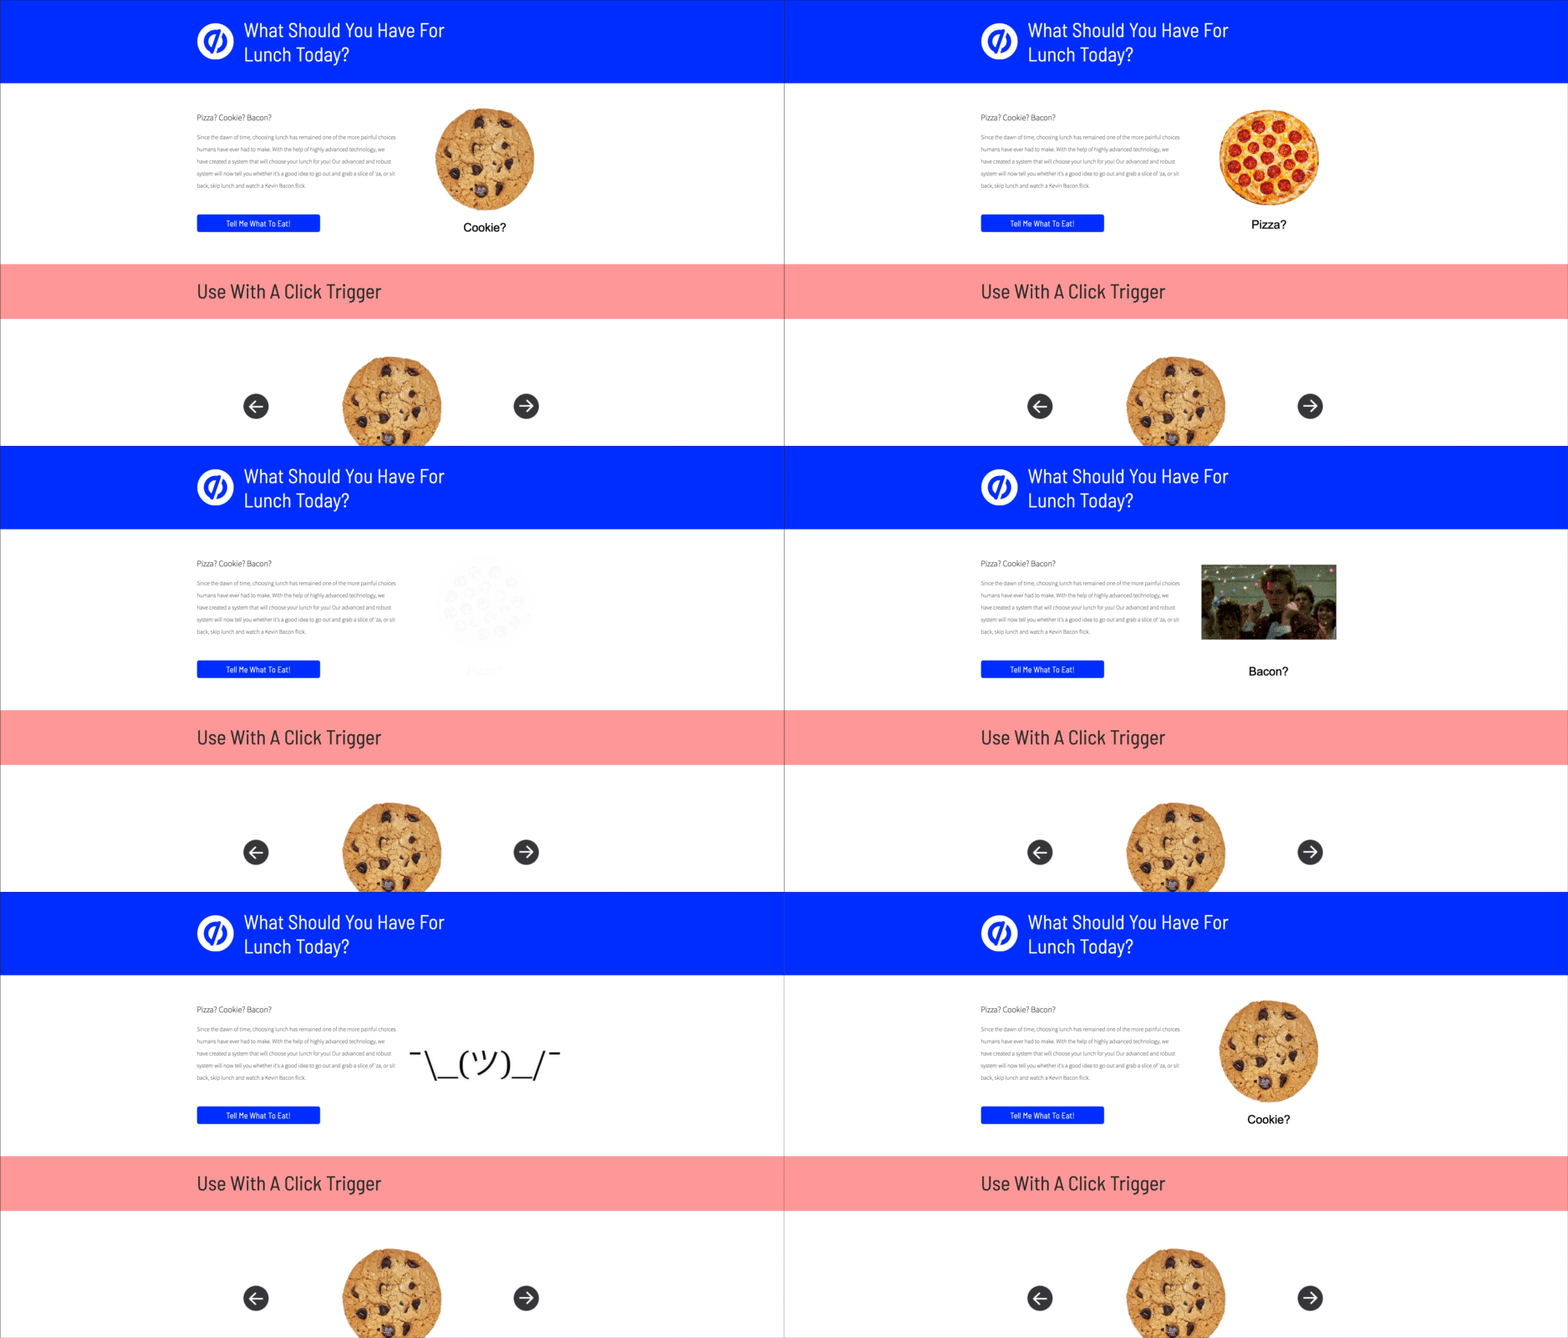
Big and bulky image sliders that draw a lot of attention tend to actually hurt conversion rates (Item number 1 in this article) and aren’t something we generally recommend for landing pages.
But that’s not going to dissuade you is it? 😏 We were prepared for that…
Introducing Box Widget Carousels in Unbounce 📈 
Maybe you want to cycle through some testimonials below the fold to make the page cleaner? Or perhaps you’d like to have a rotating sub headline to free up some space while still saying what you want to?
There are a few small and effective ways to utilize the cycling of elements on a page that come to mind. Please though I beg you, don’t make this the focal point. This is one of those things that would be good to test before adopting. 💯
Below you’ll find some code that will allow you to place items in a box on your Unbounce page and have them automatically cycle with a fade effect, showing one at a time.
You can see this in action (built in Unbounce) here:
http://unbouncepages.com/auto-element-cycle/
How to Install in Unbounce
👇
Click Here for Instructions
🚨
This is not an official Unbounce feature. This functionality is based entirely on third party code, and has only been tested in limited applications. Since this isn’t a supported Unbounce feature, our support team will be unable to assist if things go awry. So if you are not comfortable with HTML, Javascript and CSS, please consider consulting an experienced developer.
Step 1.
Place a box widget on the page, this is going to contain the elements you’d like to cycle through. Make note of the ID of the box, we’ll be using it in the javascript.
Step 2.
Add your content to the box and make sure it is nested (the inside of the box will turn checkered). You can nest images, text, or even other boxes if you’d like to cycle through both images and text together. The script will automatically centre all items in the middle of the box.
Step 3.
Add the jQuery v. 2.2.4 CDN link in the javascript section and set the placement to head.
You can find that here: https://code.jquery.com
Make sure to uncheck the jQuery 1.4.2 box in the javascript section of the page builder
Step 4
Auto Cycle
Add the auto-cycle-elements javascript to your page. Change the ID in the script to match the ID of your containing box. Edit the time to control how long each element is visible for. The default is 2 seconds.
https://gist.github.com/RobertCam/c4742be4edb082b09fc23e98bfa6db1c
On Click
in order to allow the user to control the changing of the elements use this adapted script. Don’t forget to add some buttons to trigger the elements changing and add the IDs of those buttons into the script where indicated.
https://gist.github.com/RobertCam/e50e0223ff348d1db3947b18789caa80
💡 Tip: If you’d like to have multiple boxes cycle elements simply duplicate the script and change the ID for the containing box.
Step 5
Done! Go Celebrate, but keep an eye on that conversion rate!

Can’t see the instructions? Log in or Join the Community to get access immediately. 🚀
Want to take your Unbounce landing pages + Convertables to the next level?
 Check out the Ultimate List of Unbounce Tips, Scripts & Hacks


