If your lead gen form requires a date or set of dates, you might be interested in hooking up a “date picker” widget to make the interaction as easy as possible. While this is a feature we will one day incorporate into the core form builder in Unbounce, you can use the following set of steps to get it working today.
🚨
This is not an official Unbounce feature. This functionality is based entirely on third party code, and has only been tested in limited applications. Since this isn’t a supported Unbounce feature, our support team will be unable to assist if things go awry. So if you are not comfortable with HTML, Javascript and CSS, please consider consulting an experienced developer.
Click Here for Instructions
Step 1: Add jQuery and jQuery UI
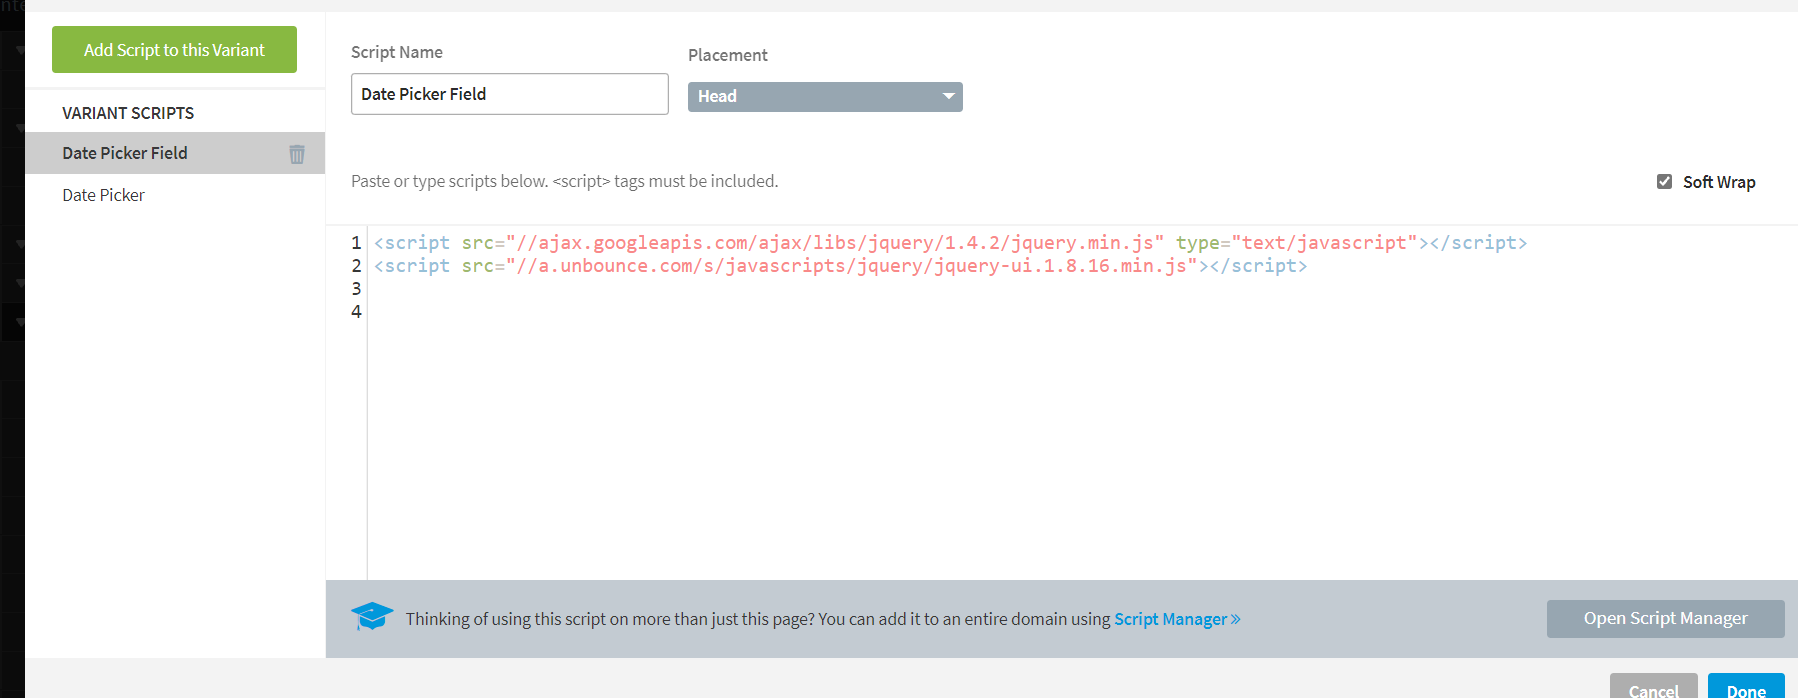
Open up the “Javascripts” panel (click the Javascripts button in the bottom left of the editor) and paste in the following:
<script src="https://code.jquery.com/jquery-3.6.0.js"></script>

<script src="https://code.jquery.com/ui/1.13.0/jquery-ui.js"></script>
Call this script “jQuery” and set the placement to “Head”.
Step 2a: Add the jQuery UI stylesheet
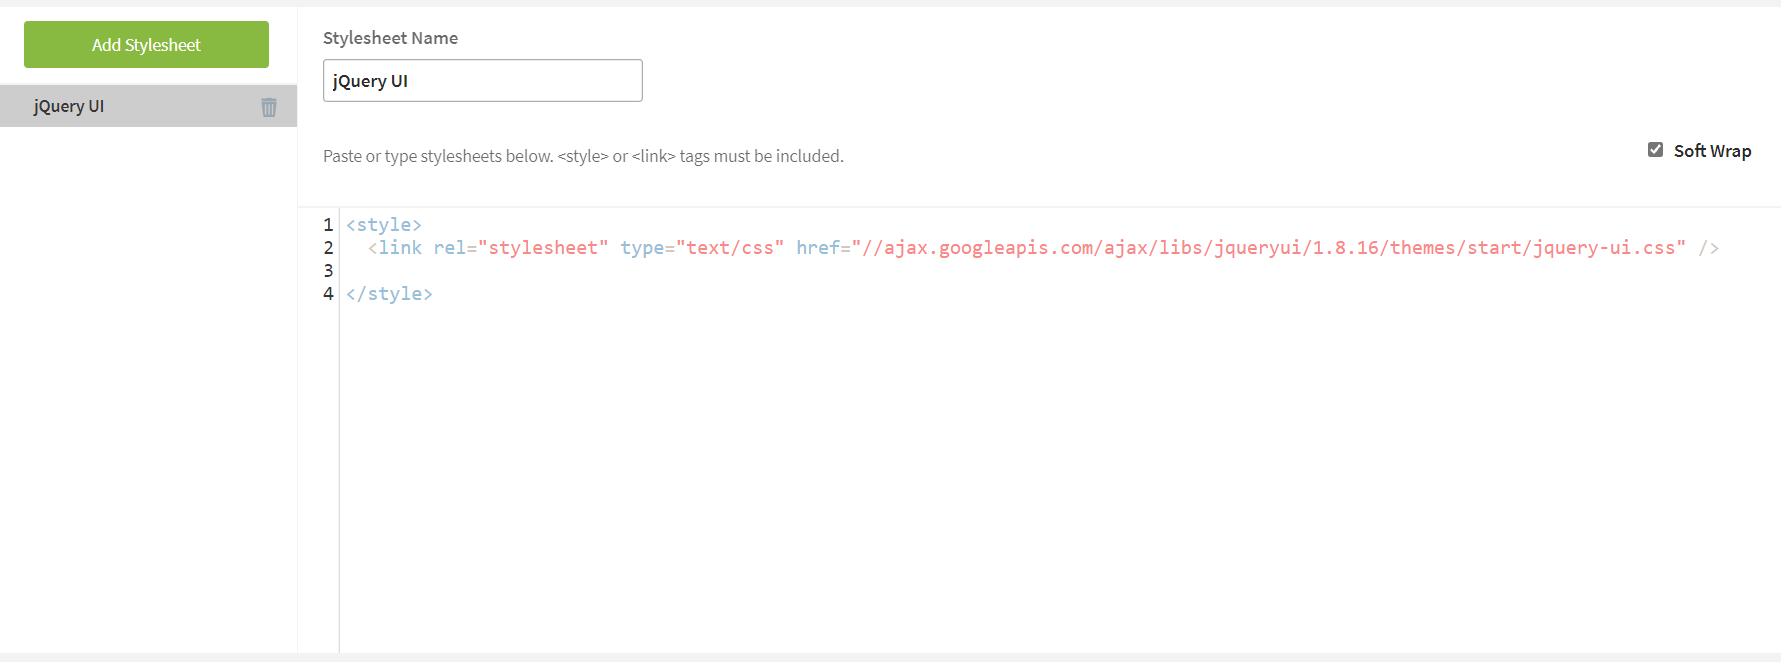
Next, hop over to the “Stylesheets” screen (click the “Stylesheets” button in the bottom left of the editor) and paste in the following:
<link rel="stylesheet" href="//ajax.googleapis.com/ajax/libs/jqueryui/1.8.16/themes/smoothness/jquery-ui.css" />
Call this stylesheet “jQuery UI” and click “Save Code”.
Step 2b (Optional): Customize the look of your date picker
There are many different themes available to the jQuery UI, and the above step is making use of the “smoothness” theme. If you wish to use a different theme, follow these steps:
- Hop over to the jQuery Theme Editor.
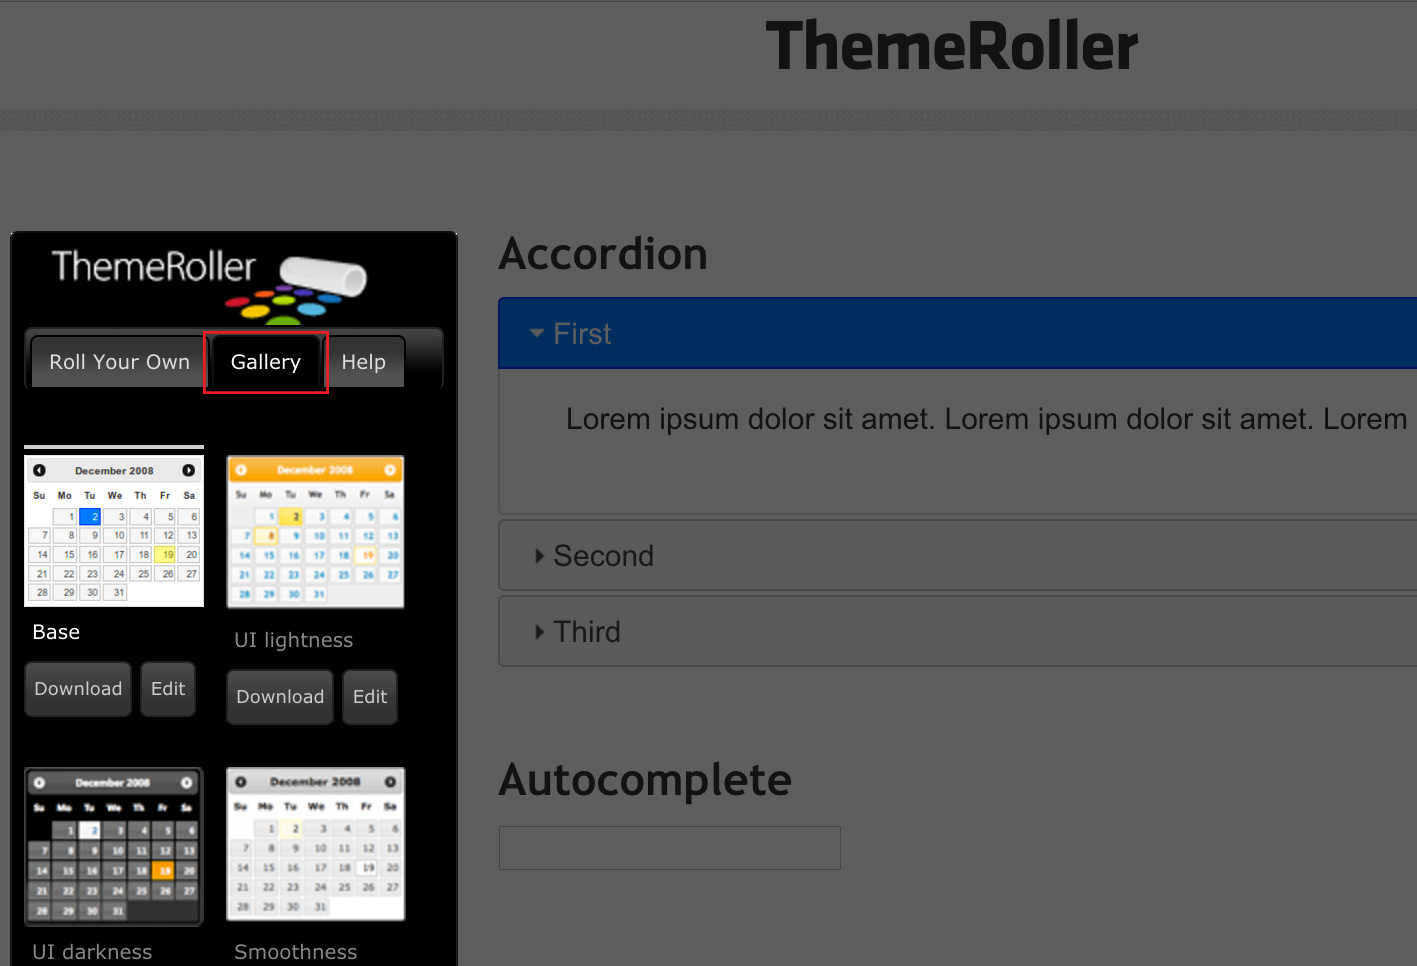
- Click “Gallery” and browse through the available themes.
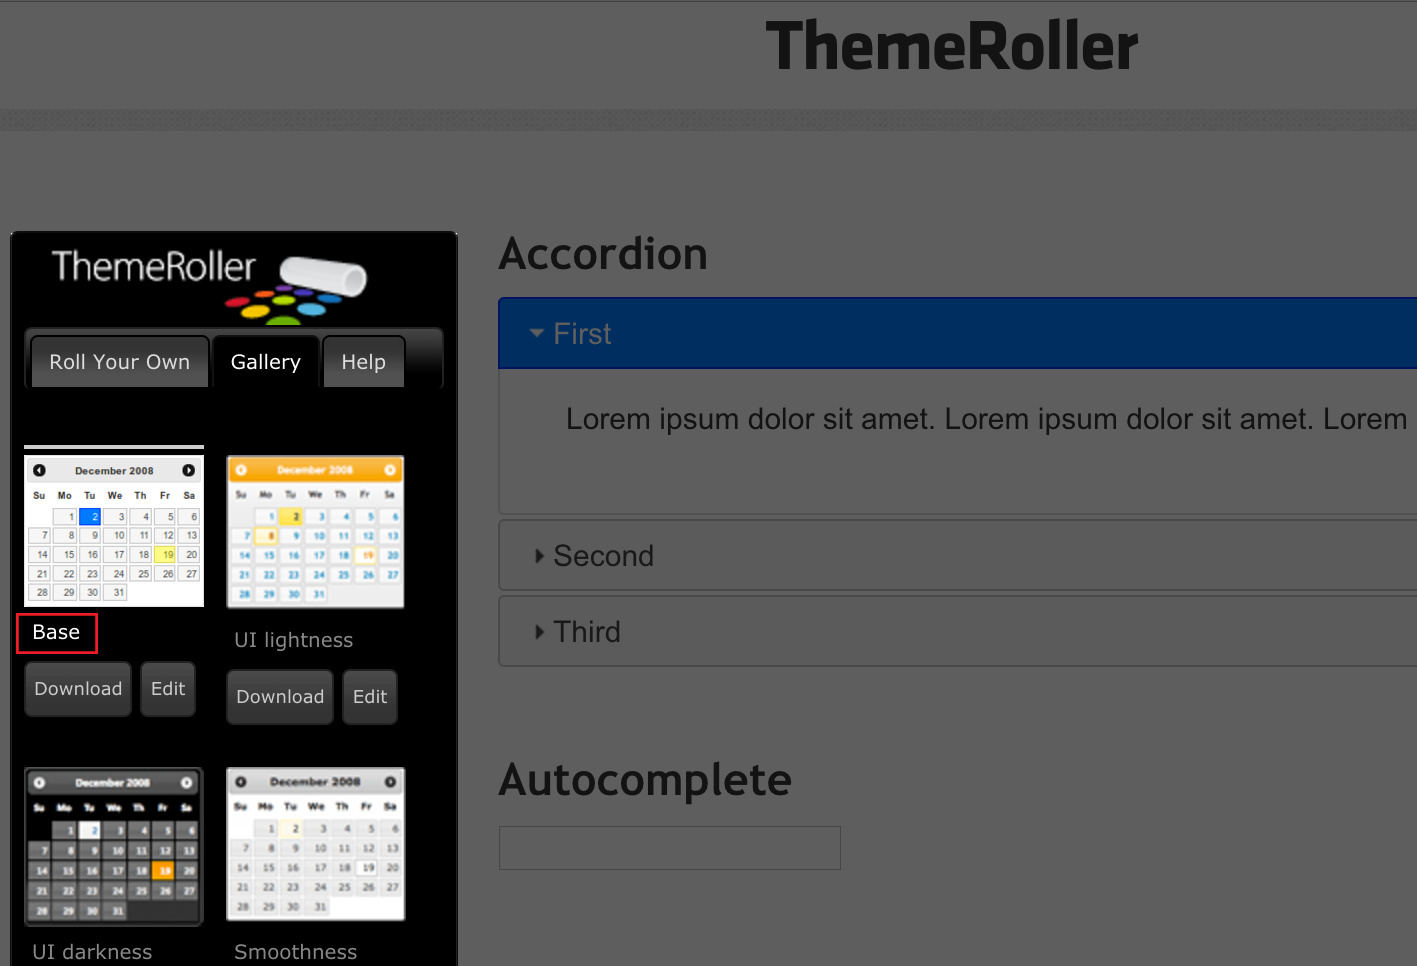
- When you find the one you like, make note of the template name (e.g., “Base”, in the image below).
- In the “jQuery UI” stylesheet you created in Step 2a above, replace the word “smoothness” in your tag with the template name of the theme you wish to use and click “Save Code”. If the template name contains more than one word, add a hyphen (-) between each word (e.g., “black-tie”).
For example if you wanted to use the jQuery “Sunny” theme you would change the link to:
<link rel="stylesheet" type="text/css" href="//ajax.googleapis.com/ajax/libs/jqueryui/1.8.16/themes/sunny/jquery-ui.css" />
There should only be ONE jQuery UI stylesheet being included on your page now.
Step 3: Add the date field to your form
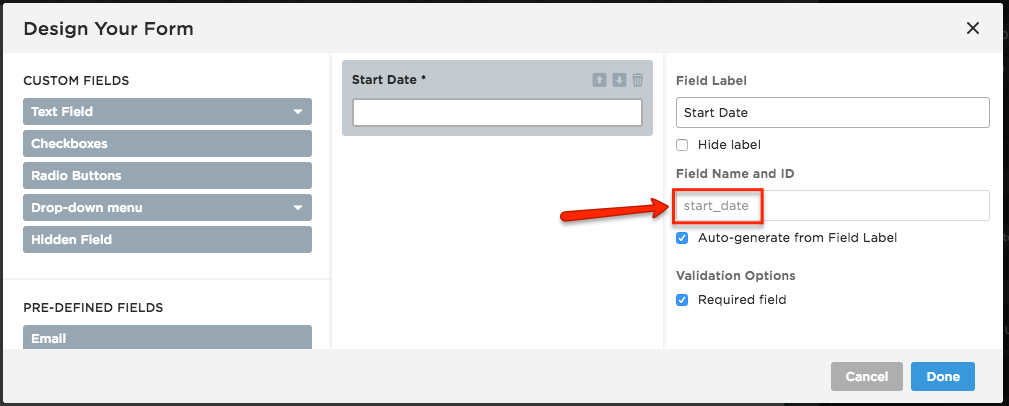
You may already have this in your form, but the important part is finding out what the field is called. You’ll want to use just a “Single-line Text Field”:
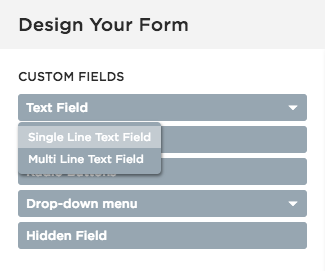
In this example I’m calling it “Start Date”. You’ll notice right under the Field Label input box, there’s some text “start_date”. This is the ID of your field, remember it for the next step
Step 4: Add the ‘date picker’ JavaScript code
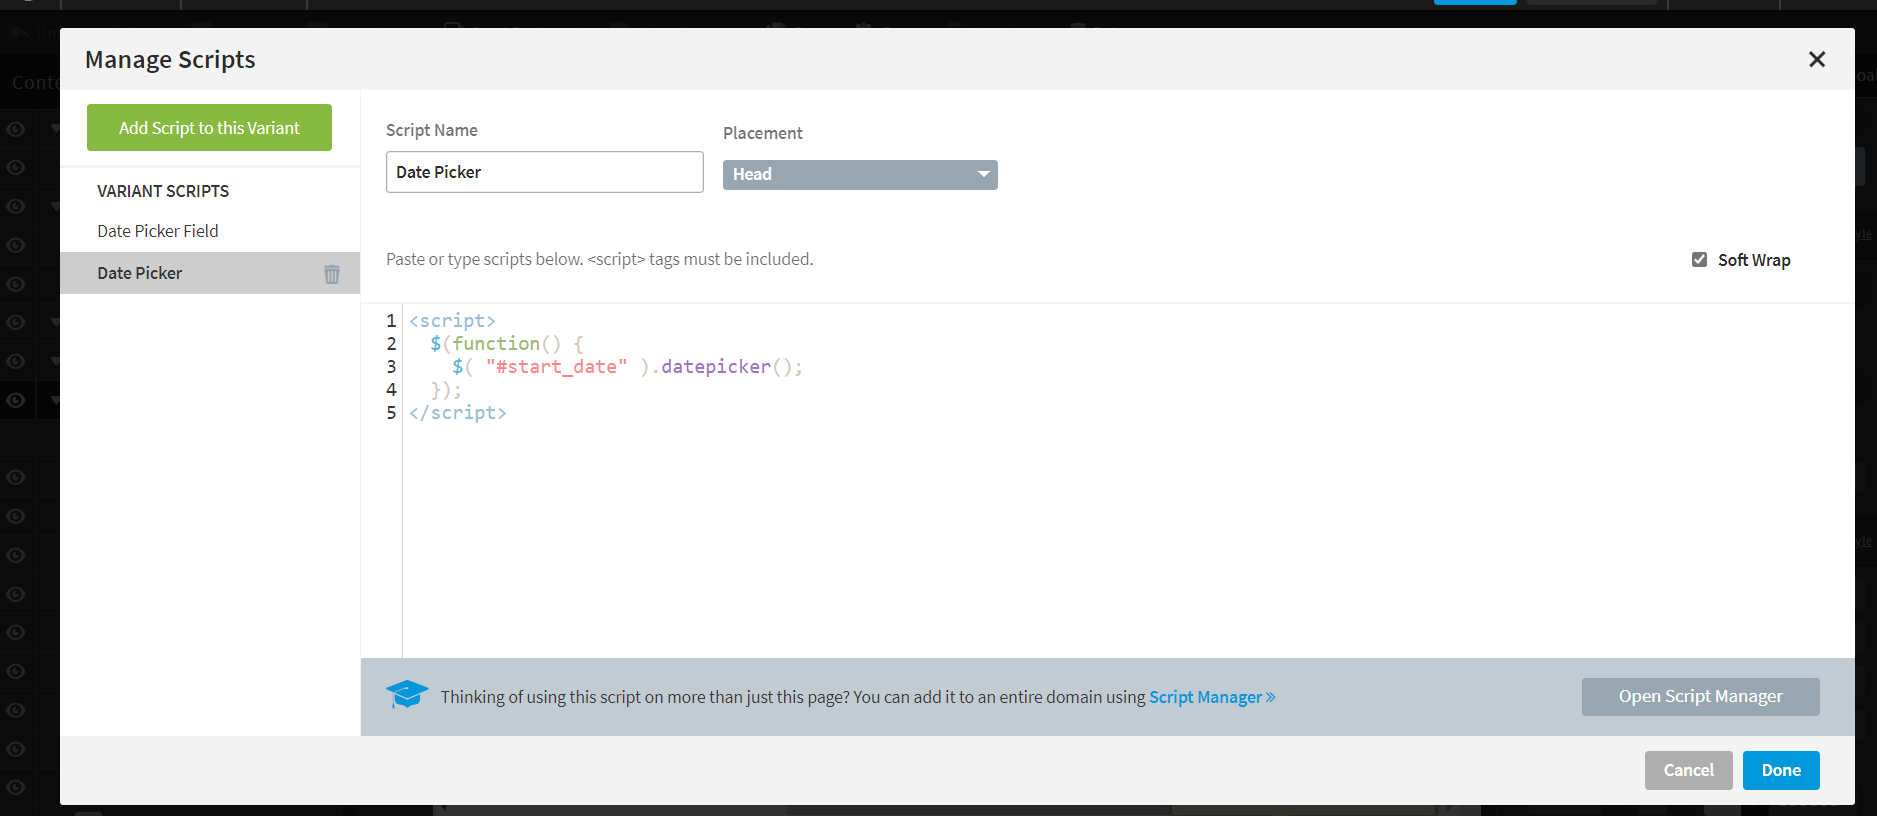
Open up the Scripts dialogue again. Add a new script, call it “Date Picker” and set the placement to “Head”. Paste in the following code, and replace “start_date” with the form field ID that you took note of in the last step:
<script>

  $(function() {

    $( "#start_date" ).datepicker();

  });

</script>
👉 Make sure the “#” symbol is included in front of the form field ID - otherwise, this script won’t work!
If you’re using an outdated version of jQuery UI, you will need to use the updated version (1.12.1). You can download this from the jQuery CDN page.
That’s it, you’re all done!
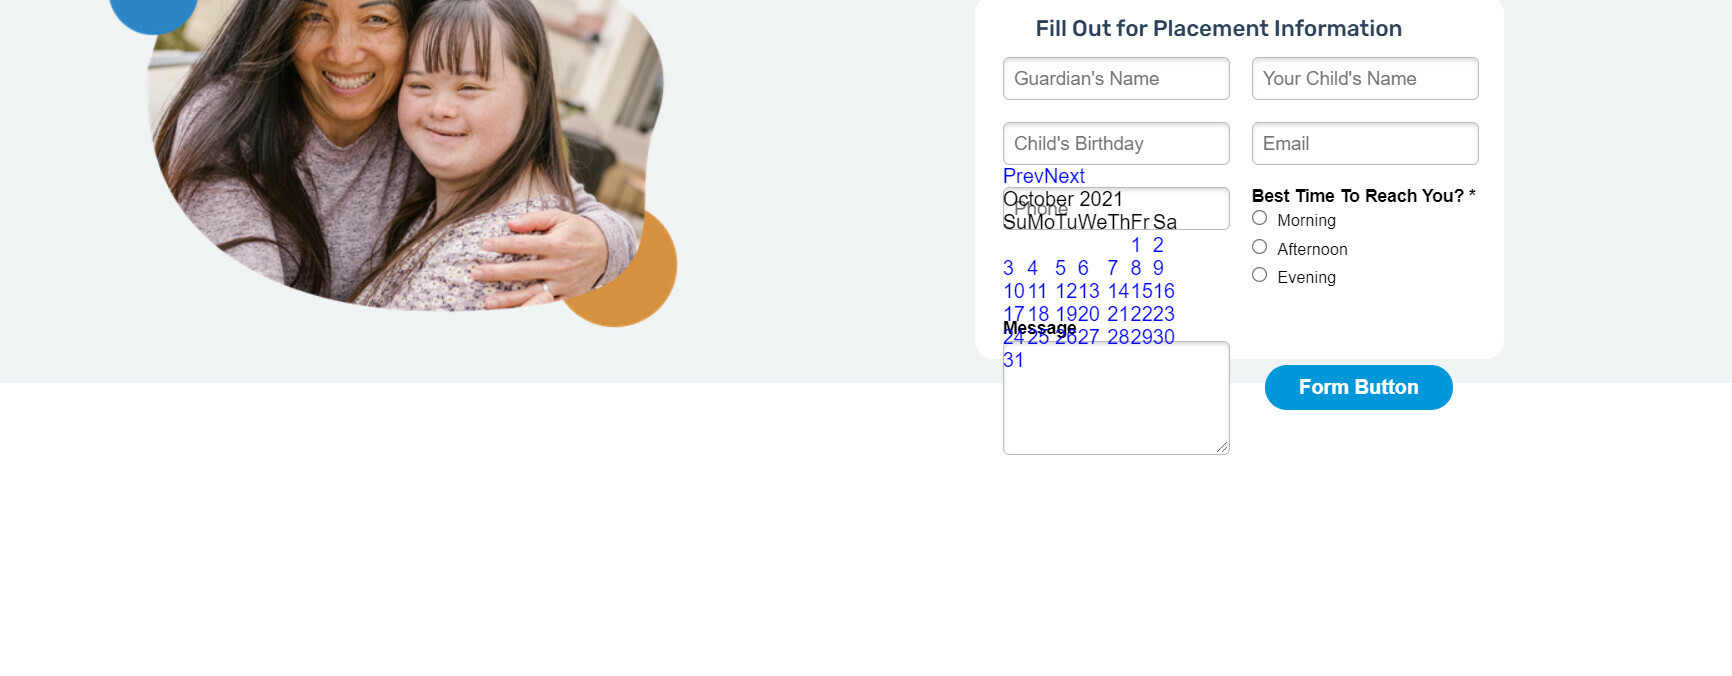
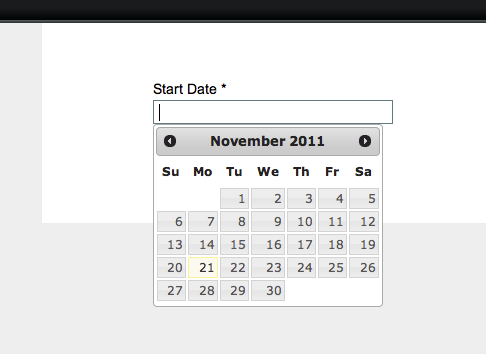
You can save and preview your page now, and clicking on the “Start Date” input field should show you something like this (depending on which theme you chose):
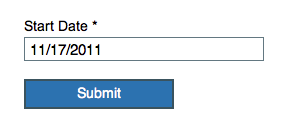
Selecting a date will populate the form field like so:
Remember to look at all the options of using this component if you want to get your hands dirty customizing it. There really are a ton of options, including changing the format of the date string that populates your form field. Let us know how it worked out for you!


