


Hey Community peeps!
Joel from Unbounce here.
I wanted to share with you a setup that I’ve started using recently as a way to track Calendly bookings on a landing page as a conversion in my Unbounce stats.
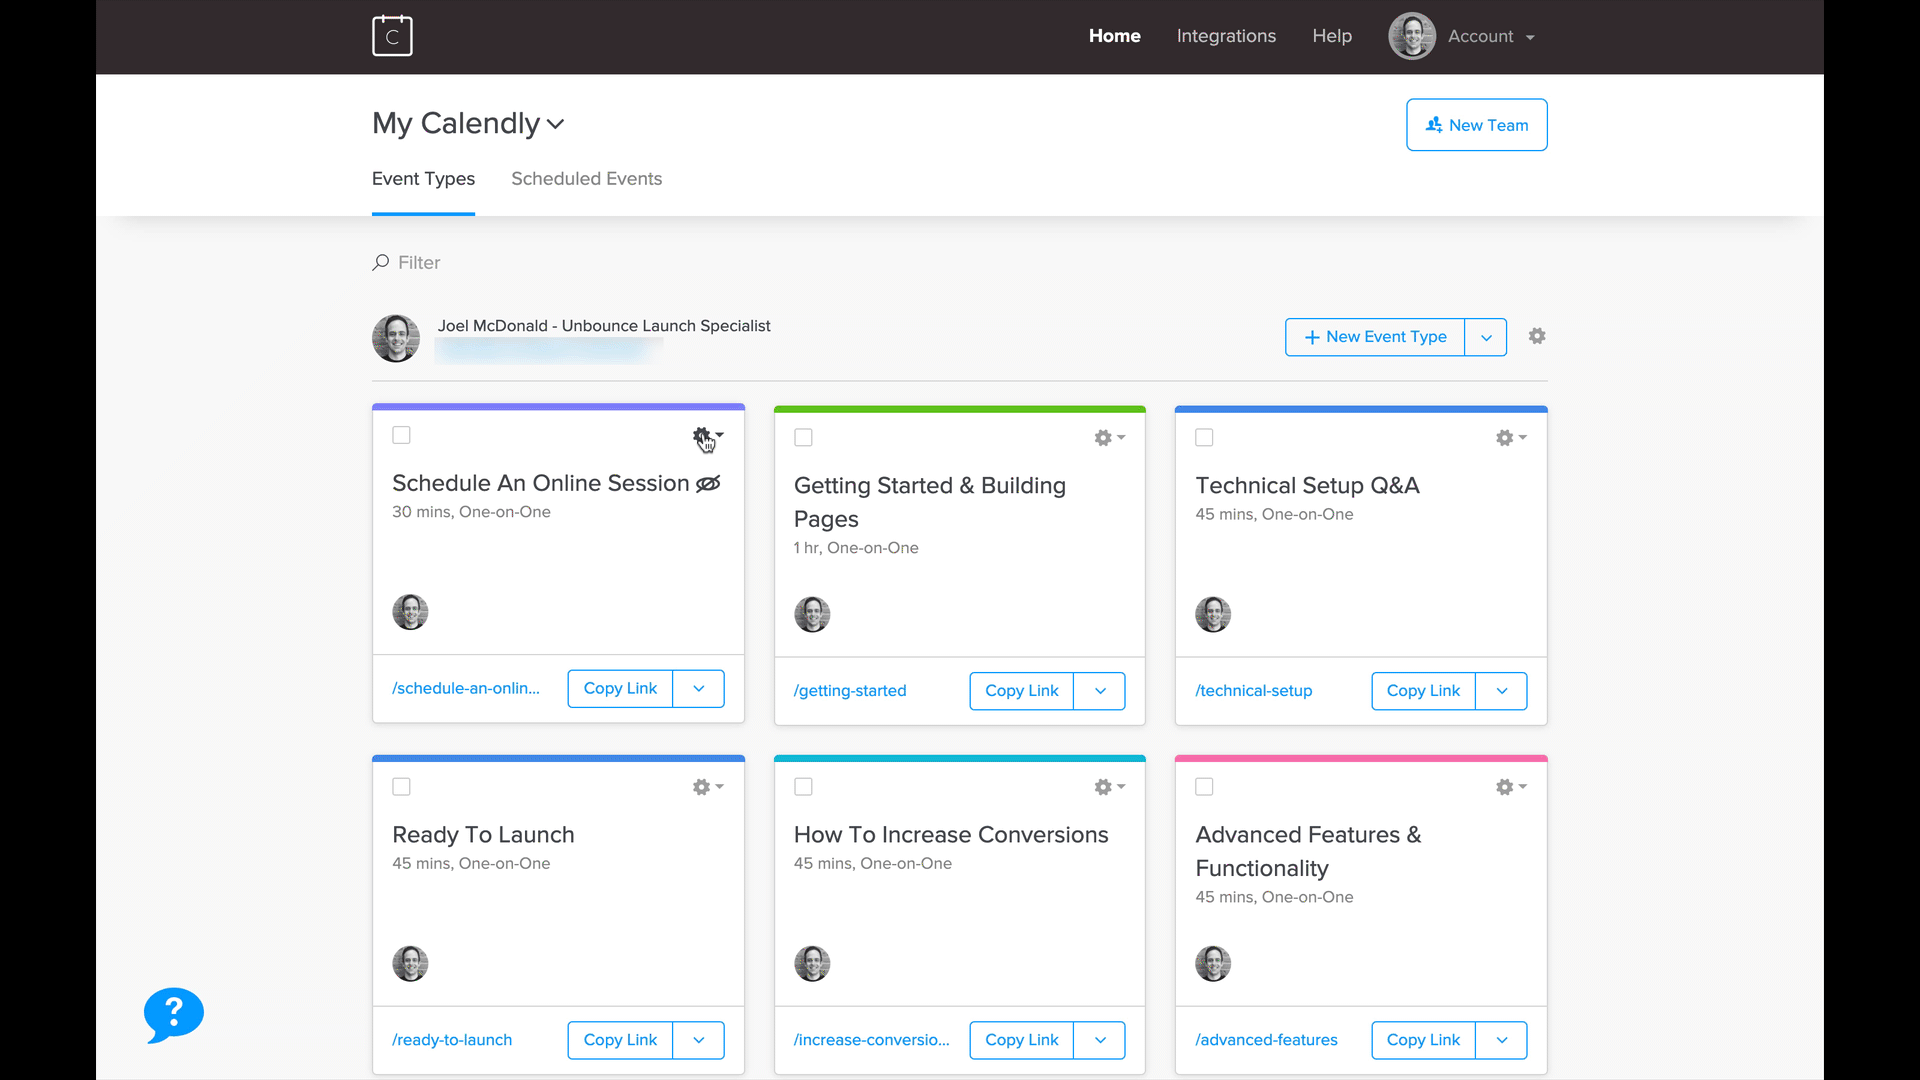
In case you aren’t familiar with Calendly, it’s an online booking/scheduling tool that allows people to schedule time directly into your calendar. It integrates really well with Google Calendar and Zoom, so I use it constantly for booking time with Unbounce customers for onboarding sessions.
Calendly has an embeddable widget that allows you to put the tool right onto an Unbounce landing page, but my issue had always been trying to correctly count the bookings I get from Calendly as conversion in my Unbounce stats. With the conversion count, I can then setup A/B tests using Unbounce and try to optimize my page.
Whelp, it turns out Calendly has an option to redirect your bookings to an external page. So if I combine that with a Thank You page created in Unbounce, along with our external conversion tracking script, I can have a setup where I can accurately track my Calendly bookings as conversions within Unbounce! Here’s how:
Track Conversions From A Calendly Widget
Step 1: Get your Calendly widget embed code
Obviously you need the embed code to place the widget on your landing page
Step 2: Embed your Calendly widget onto your Unbounce page
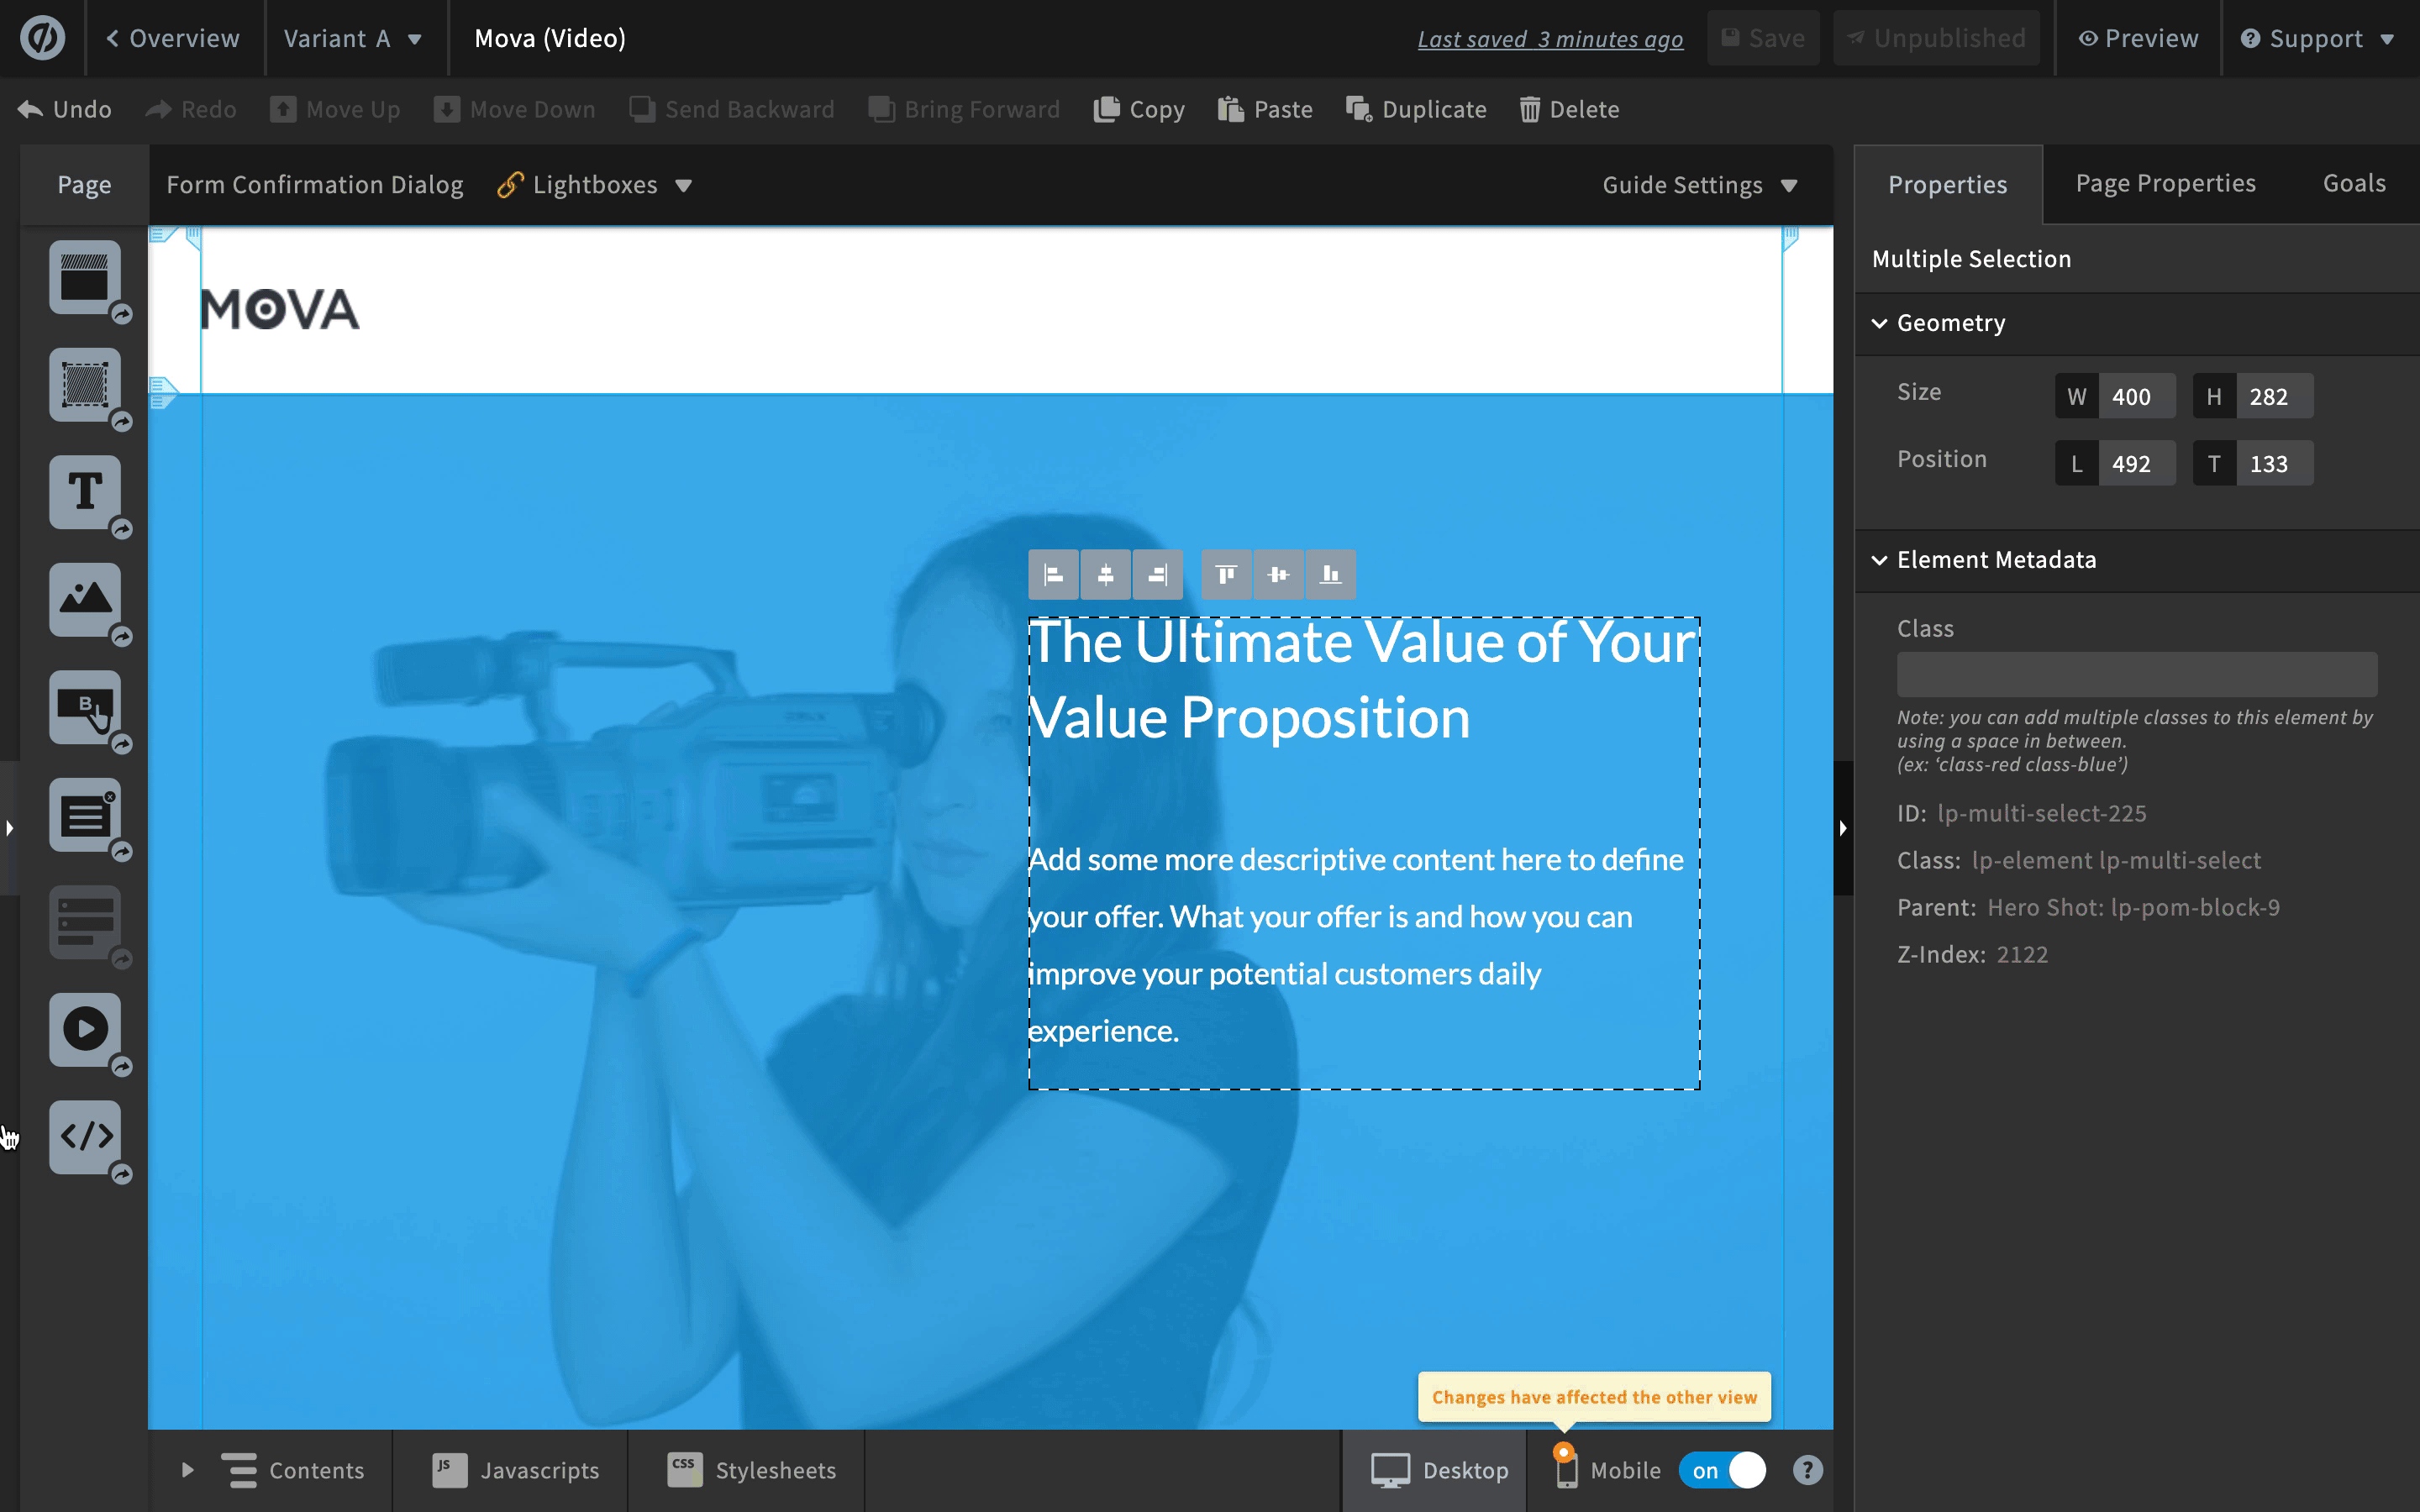
This is where we put the Calendly booking widget onto the Unbounce page using the Custom HTML widget in Unbounce. After, you can resize the HTML widget to make it fit the dimensions you want.
Step 3: Add Unbounce’s Conversion Pixel to your Thank You Page
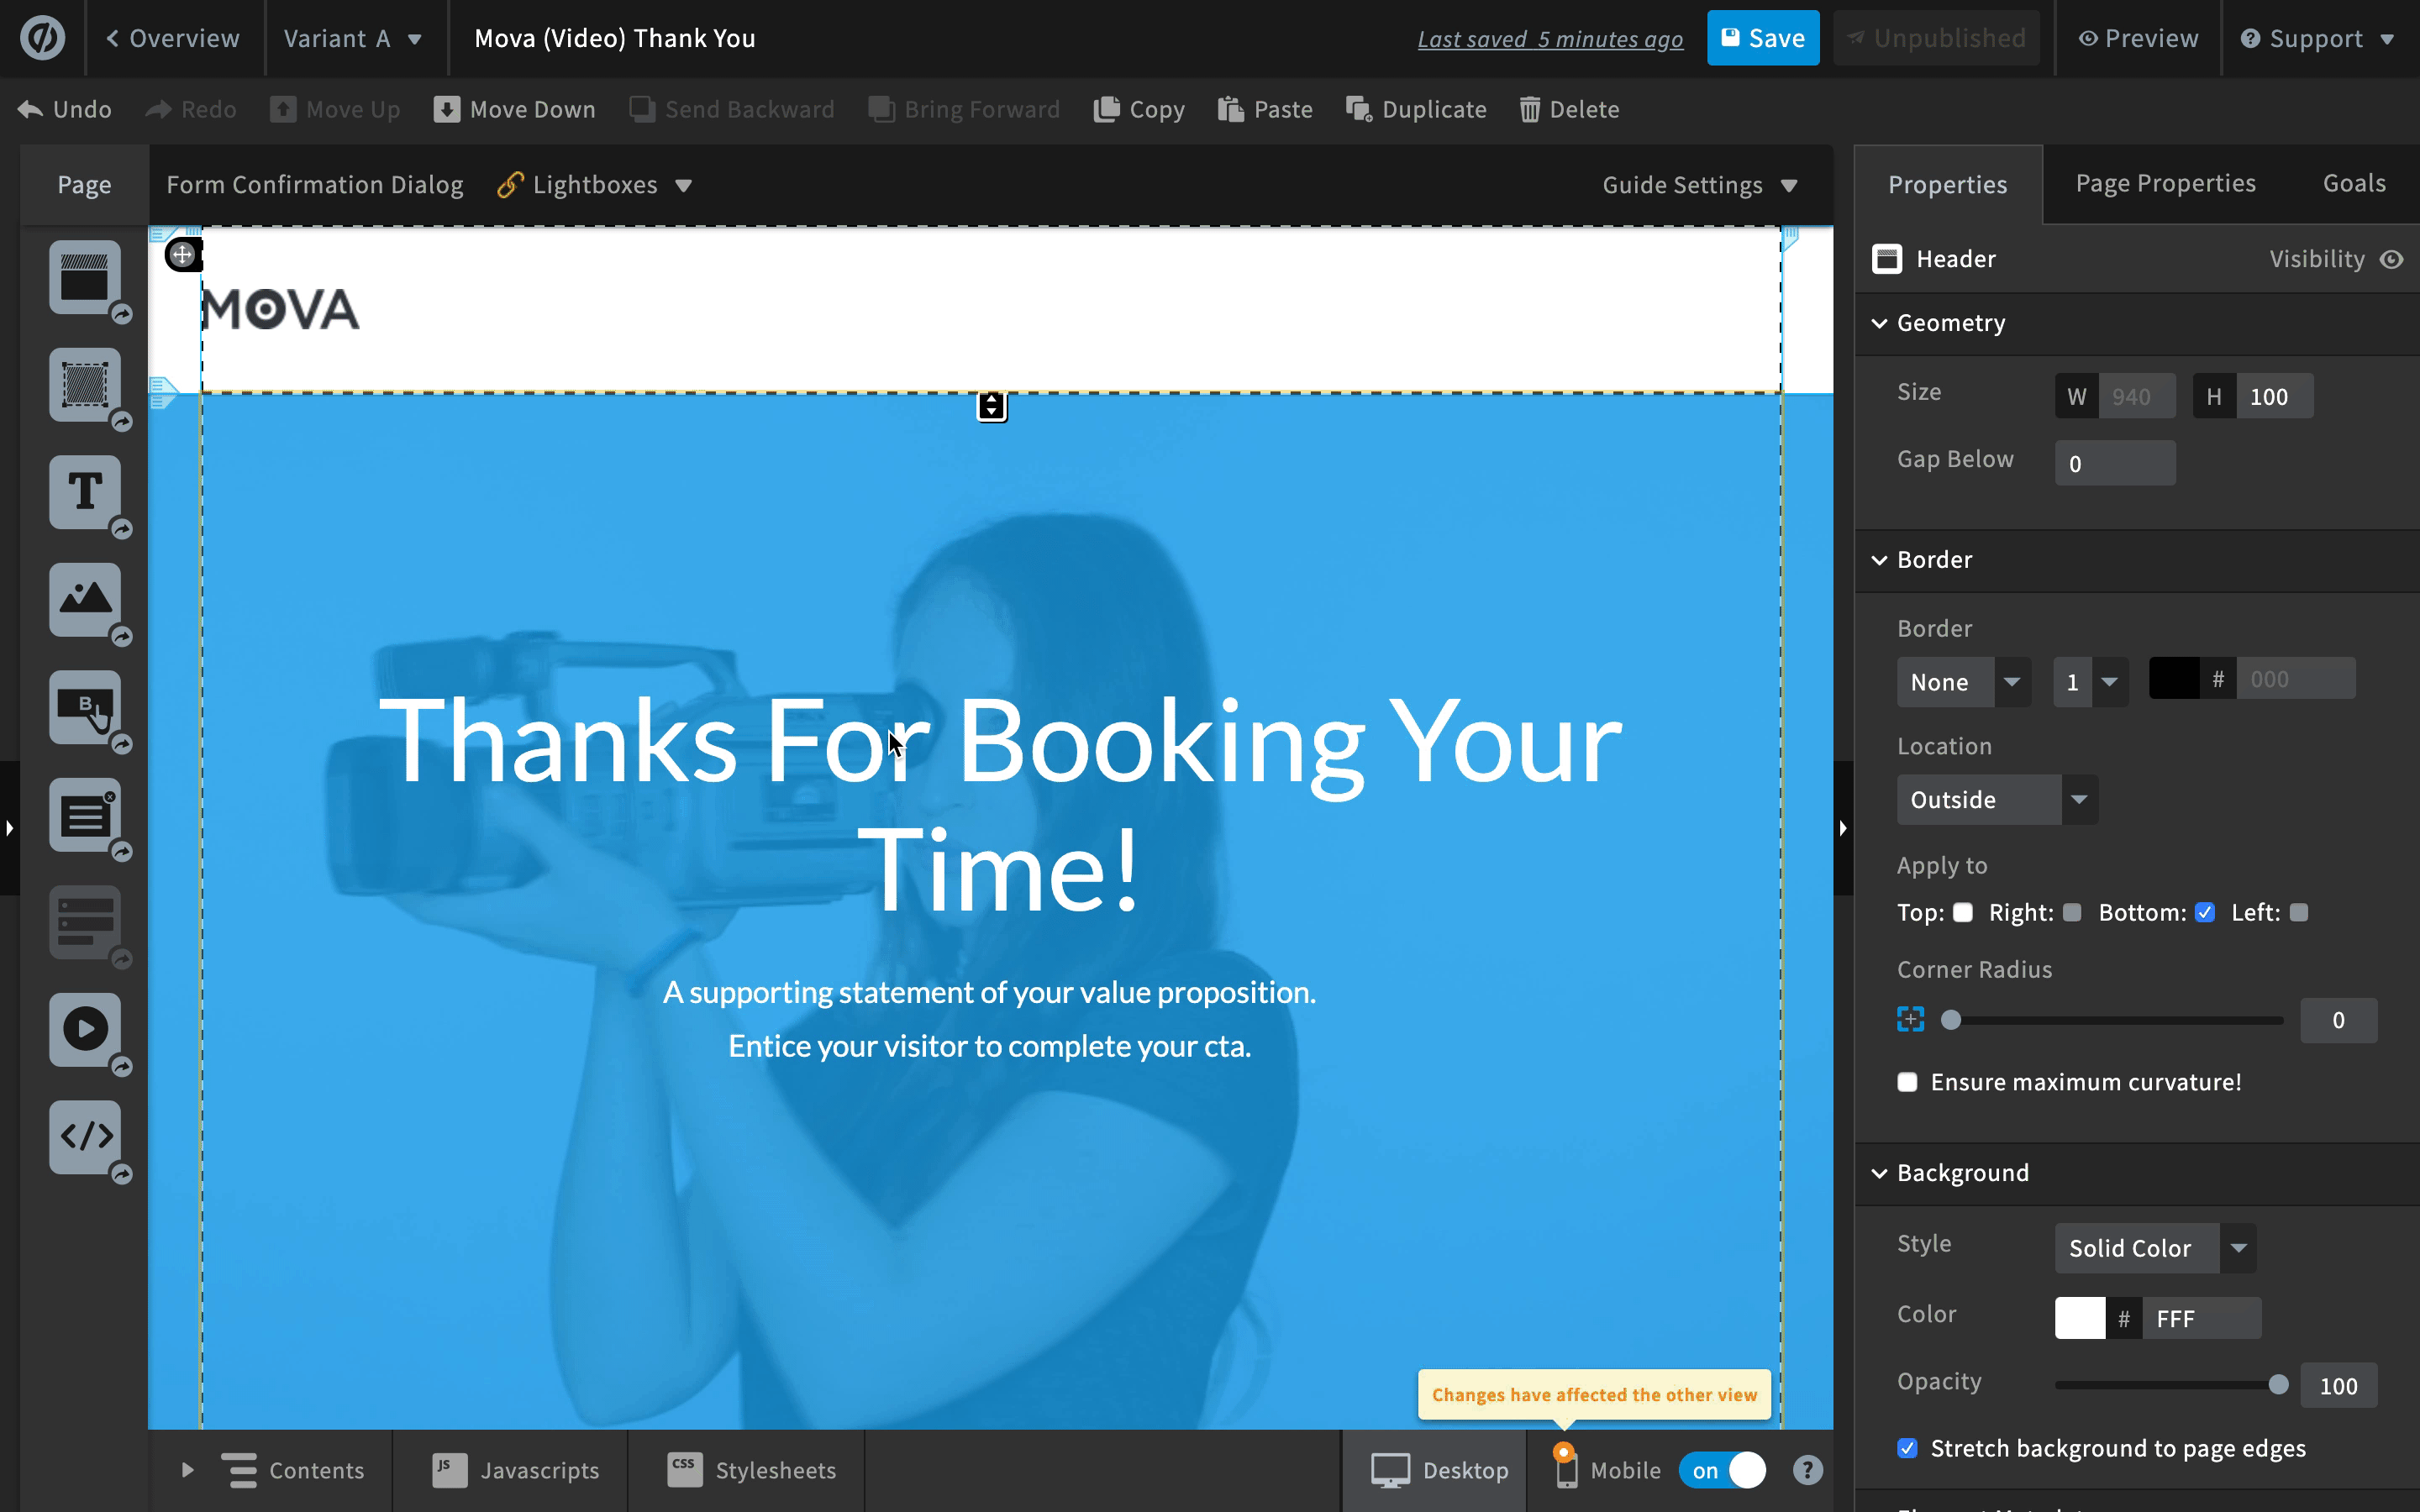
You’ll need the Unbounce External Conversion Script (below) and then you can place it in the javascript editor of your Thank You page.
Get the script
<script type="text/javascript">
  var _ubaq = _ubaq || [];
  _ubaq.push(['trackGoal', 'convert']);

  (function() {
  var ub_script = document.createElement('script');
  ub_script.type = 'text/javascript';
  ub_script.src =
    ('https:' == document.location.protocol ? 'https://' : 'http://') +
    'd3pkntwtp2ukl5.cloudfront.net/uba.js';
  var s = document.getElementsByTagName('script')[0];
  s.parentNode.insertBefore(ub_script, s);
  }) ();
</script>
Step 4: Set your Thank You page as the redirected URL in Calendly:

The final step for setting this up is to change the Confirmation Page settings in your Calendly event to make it redirect the visitor to the Unbounce Thank You Page. You can read Calendly’s documentation on this here.
Now we can test out our setup and ensure that a conversion is going to be counted when we complete the booking process.
Here’s my conversion!
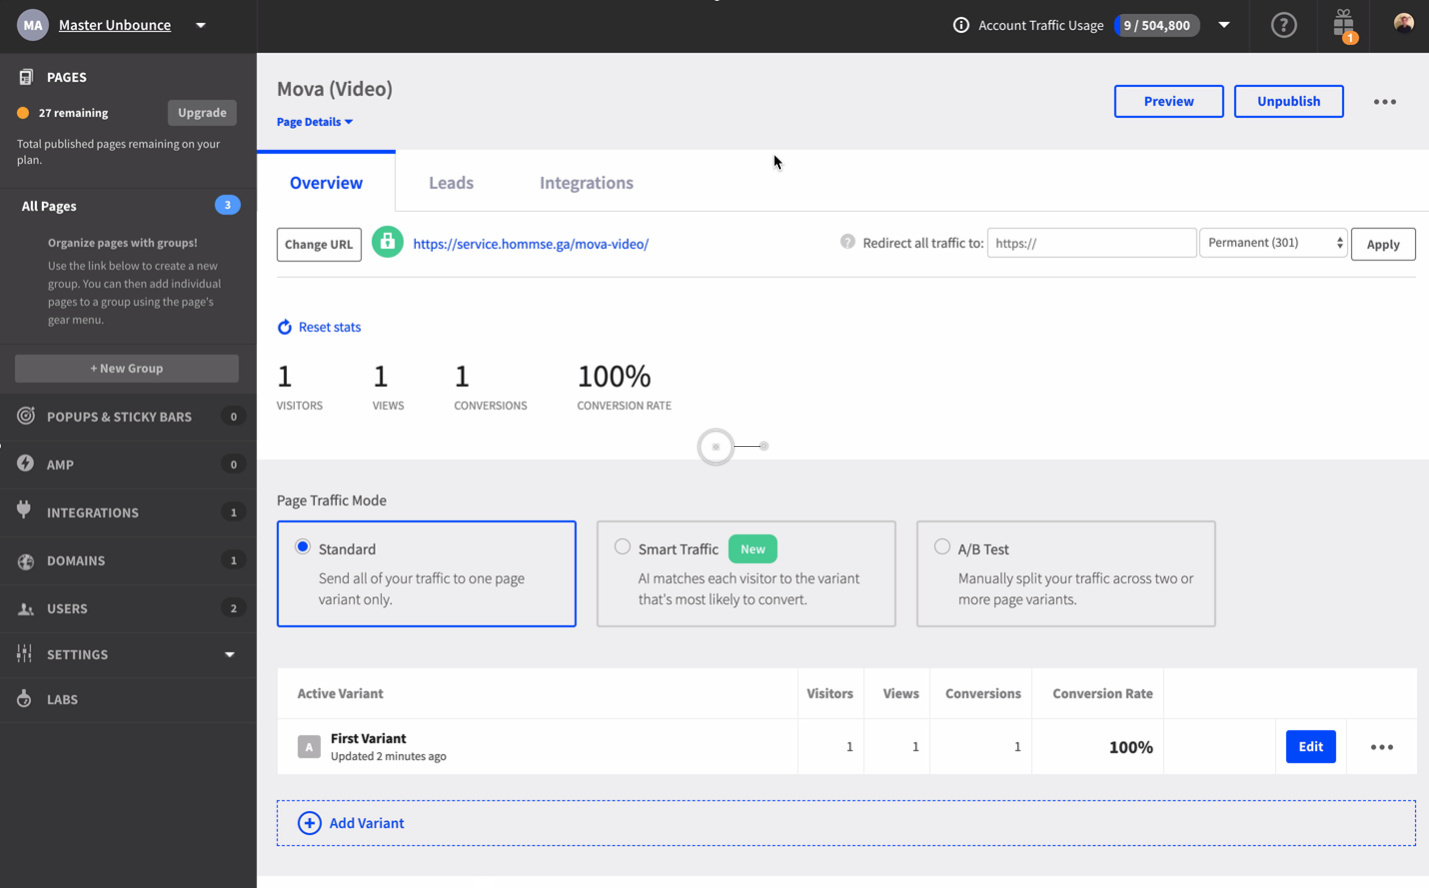
Now that I’m counting my conversions properly within Unbounce, I can try to A/B test and increase my conversion rate! One thing to note, currently our new Smart Traffic feature does not support external conversion tracking, (shame, I know) so we can’t use it with this type of setup… yet!
HEADS UP 🗣️
As always, this Tips & Scripts workaround may self-destruct upon the changing of any Calendly or Unbounce functionality, use at your own risk!