On retina/high-density displays, your images look fuzzy. Compare the 1x image to 2x. Which one would you rather your visitors see?
Here’s a quick tutorial to include high-resolution retina ready images on your Unbounce Landing Pages / Convertables.
How to Install in Unbounce
Click Here for Instructions
🚨
This is not an official Unbounce feature. This functionality is based entirely on third party code, and has only been tested in limited applications. Since this isn’t a supported Unbounce feature, our support team will be unable to assist if things go awry. So if you are not comfortable with HTML, Javascript and CSS, please consider consulting an experienced developer.
Method 1: Heavily compressed HiDPI Image
This method takes advantage of an issue in Unbounce where background images aren’t resized.
Step 1: Prepare your image
Start with the original (or largest) version of your image. Open your image in an image editor, such as Photoshop or Gimp (free). Resize it down to 2x the desired size (For example, if you want it 200x300px then resize it to 400x600px).
Save it as a jpeg with low compression quality 20 (or even 0). It might looks poor at the 2x size, but when you shrink it to the 1x dimensions, it will look great. (Check out the multiple sources for this technique).
Step 2: Add the image to your page
Add a new Box element (not an image element). The Image element will resize your image when you publish, ignoring all the work you put into step 1.
In the new Box element properties, set the background to the image you resized to 2x. Resize the box to the desired 1x dimensions (200x300px in the example).
Step 3: Publish your page
That’s it! When you publish, Unbounce will serve the original image you made in step 1. This image will have 2x as many pixels, but, because it is highly compressed, it’s not much bigger than the 1x and will look sharp on both regular and high-density displays.
Method 2: SVGs for Logos and Icons
If you are having this fuzzy image problem with logos and icons, you can try using SVGs. Look at how blurry our logo used to be.
Step 1: Save your image as an SVG
(There are lots of guides online for this.)
Step 2: Add the SVG to your Page
Unfortunately, Unbounce has no support for SVG (despite it being a popular web standard). So we have to use the HTML element to make it work.
Open the SVG file in a code/text editor (Notepad in Windows or Text Edit in OSX will work). It will look kind of like HTML. Copy it.
Back in Unbounce, add a new HTML element to your page. Paste the SVG code.
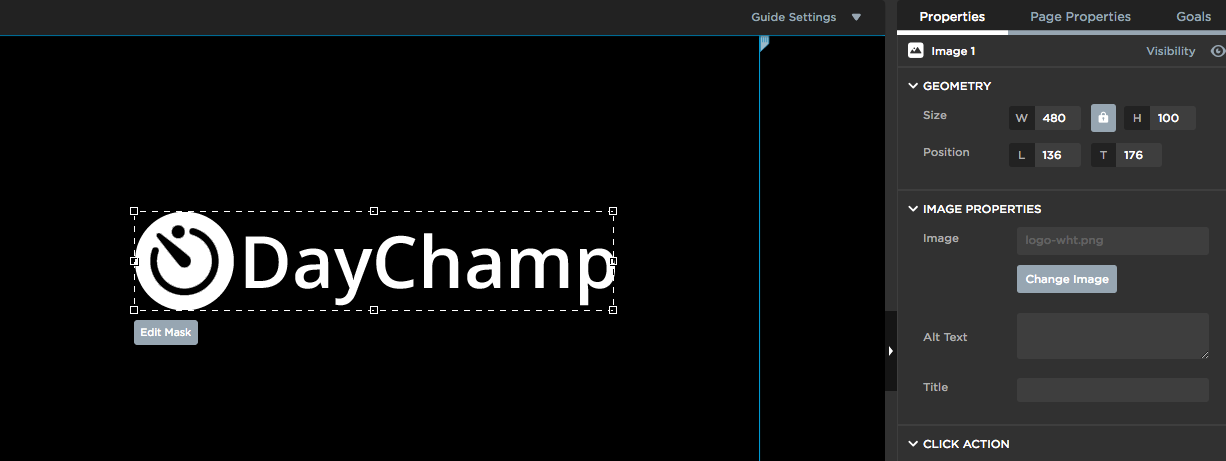
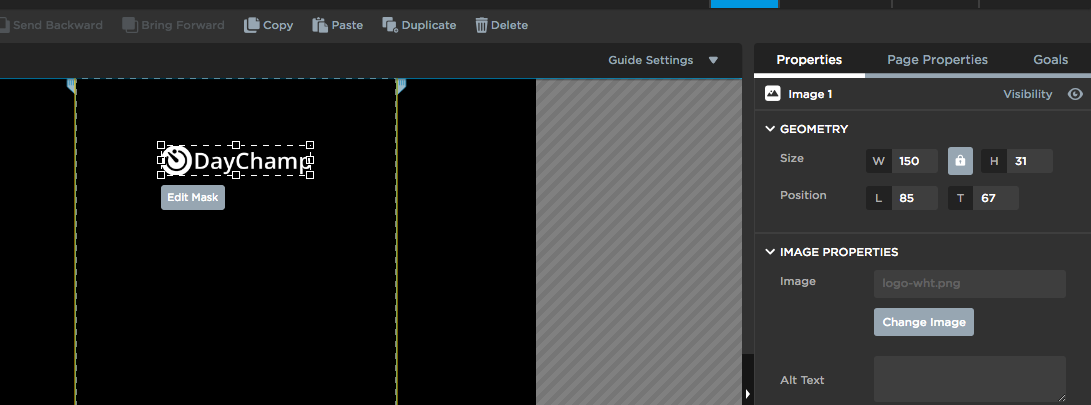
Since Unbounce doesn’t render HTML in the editor, you can’t see it in the editor (left image below). But you can see it in the Preview mode and it will render when Published (right image below).


NOTE: SVG isn’t supported by Internet Explorer 8 and below. If you need support for this browser, you can use one of the many fallback techniques.
I personally use IEs conditional comments to hide the unsupported SVG in IE8 and less and to show a PNG encoded as data uri. This makes it all self contained on a single page, but does increase the size of the page a bit.
Can’t see the instructions? Log-in or Join the Community to get access immediately. 🚀
Want to take your Unbounce landing pages + Convertables to the next level?
 Check out the Ultimate List of Unbounce Tips, Scripts & Hacks

